Basketball Commercial — Camera Work
Camera breakdown of the K1X basketball commercial — shot in Warsaw on a massive green-screen stage. The cameras, lenses and shot-by-shot decisions.
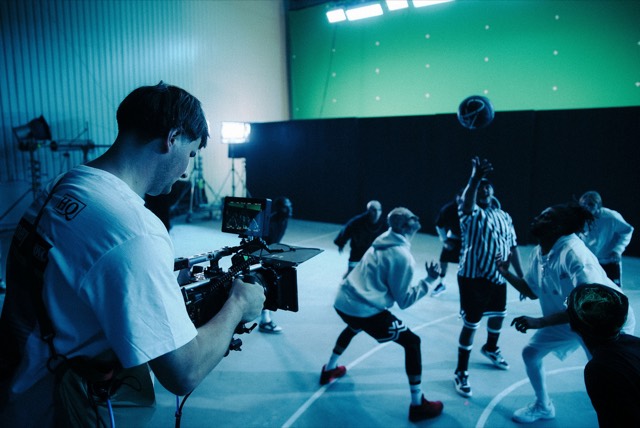
Hello everyone! Today, let's dive into my work with the camera on the K1X basketball project, which we filmed in Warsaw on a massive green screen in the studio. In this breakdown, I'll share how I used different cameras and what lenses I shot with.
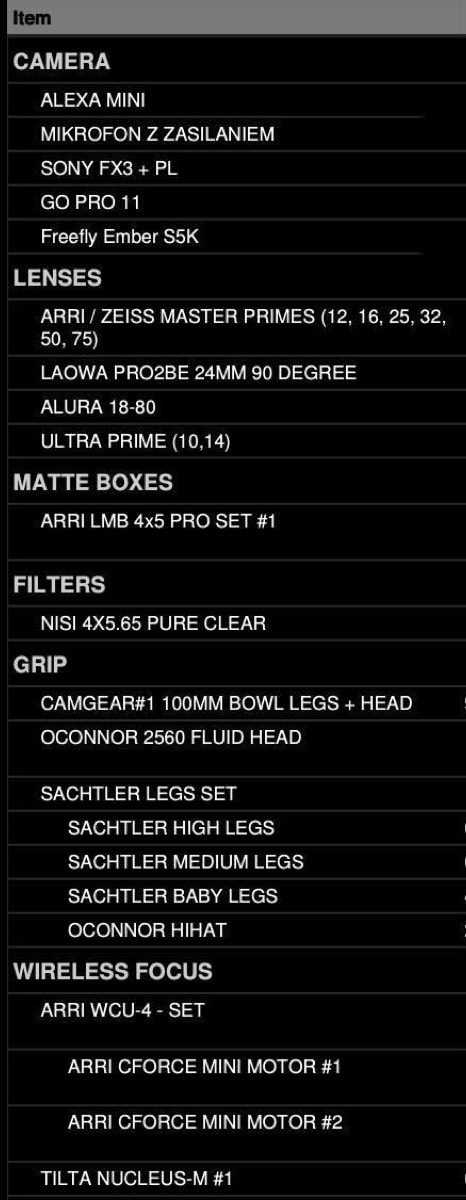
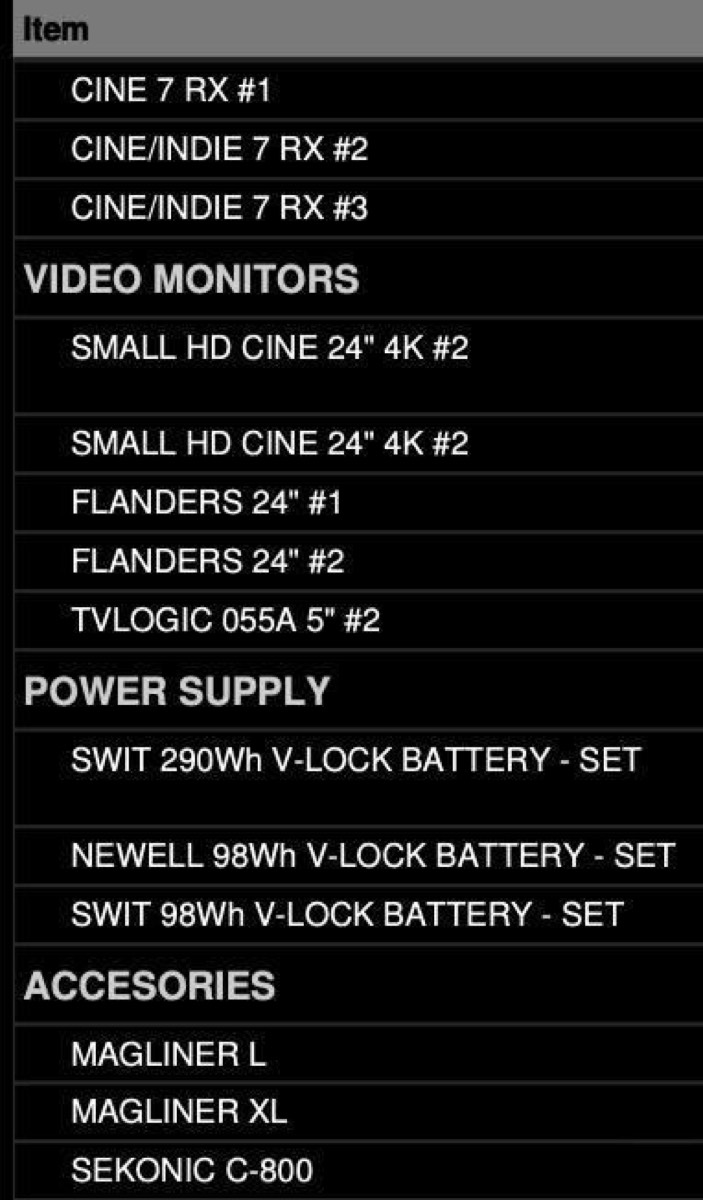
Before we get started, let me show you the list of equipment I used.
Insta 360 1rs 1-inch
BM Pocket 4K (on FPV DRONE)
Now that we've reviewed the equipment list, let's break down the shots one by one!
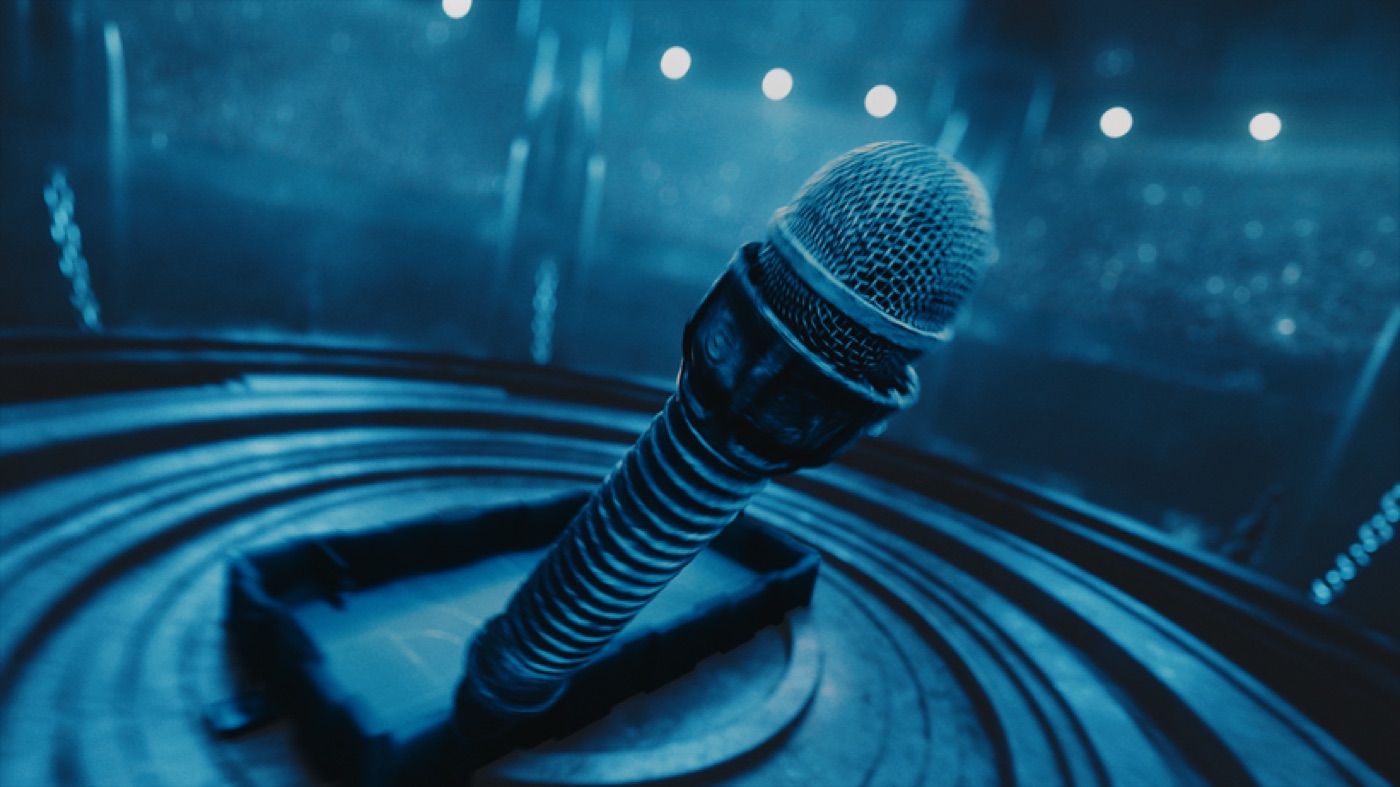
This shot was captured on the Blackmagic Pocket 4K with a 7.5mm Laowa lens! Since the camera needed to move quickly and closely to the referee as he catches the microphone, we decided for safety reasons to use this setup instead of the Red Komodo, as it wouldn’t have been as safe. As you can see, the image from the BlackMagic matches quite well and seamlessly with the main camera (Alexa)
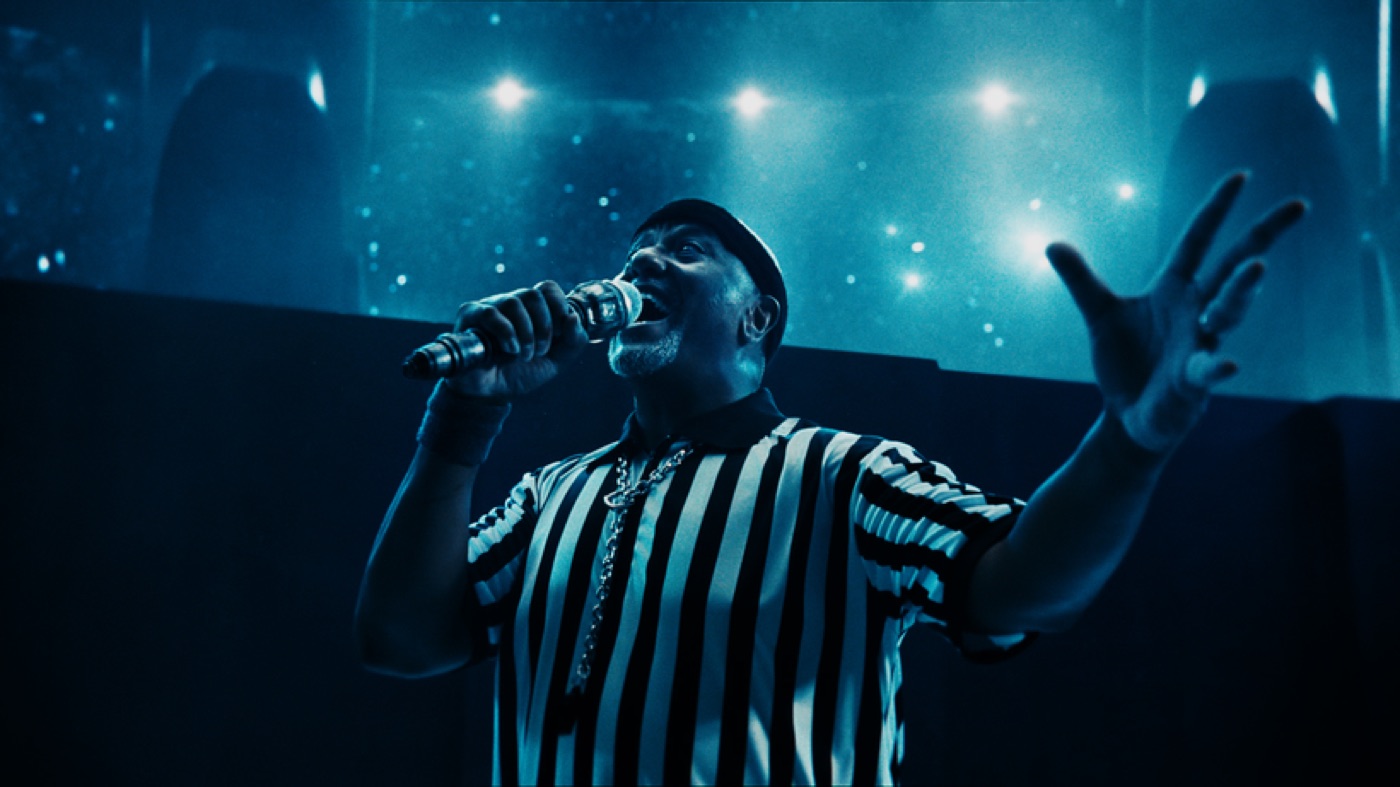
For this shot, I used the Alexa Mini with the Alura 18-80mm zoom lens!
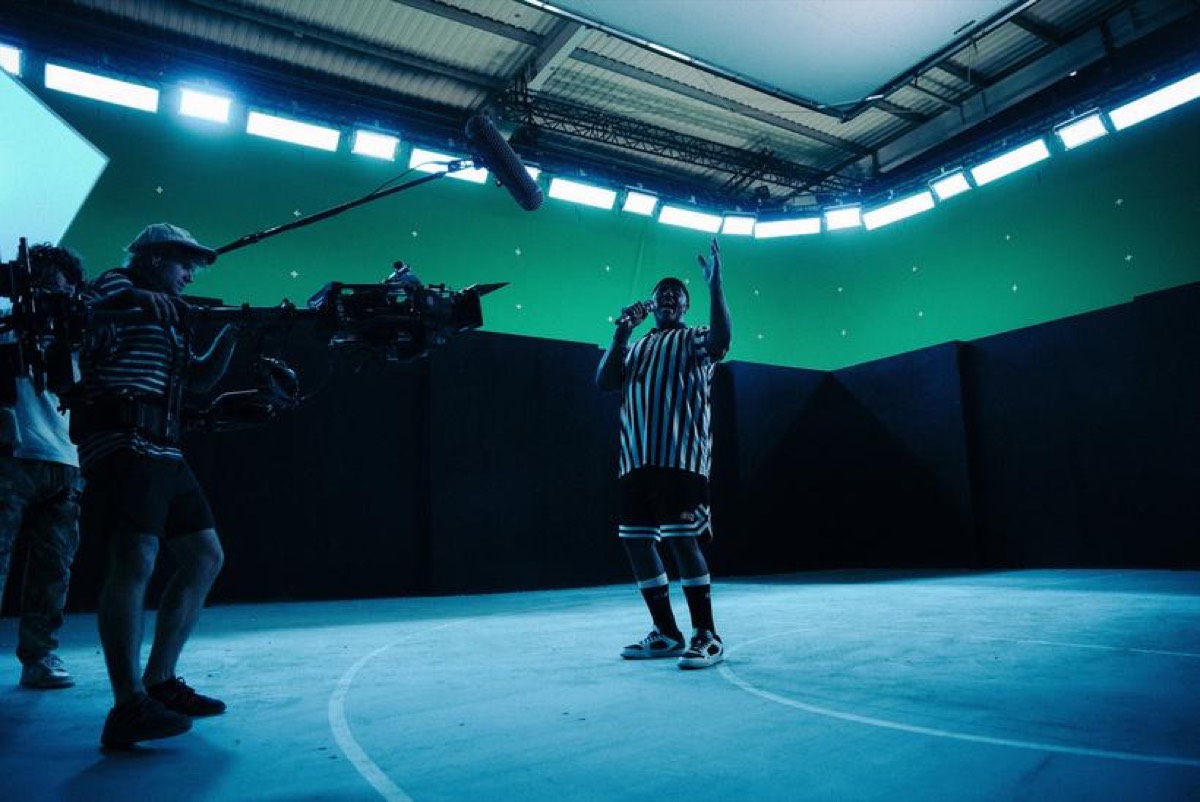
This shot was taken on a Steadicam with zoom control, which I believe added to the feeling of a real basketball game and focused attention on the referee, as if a million people in the arena were watching him and his speech!
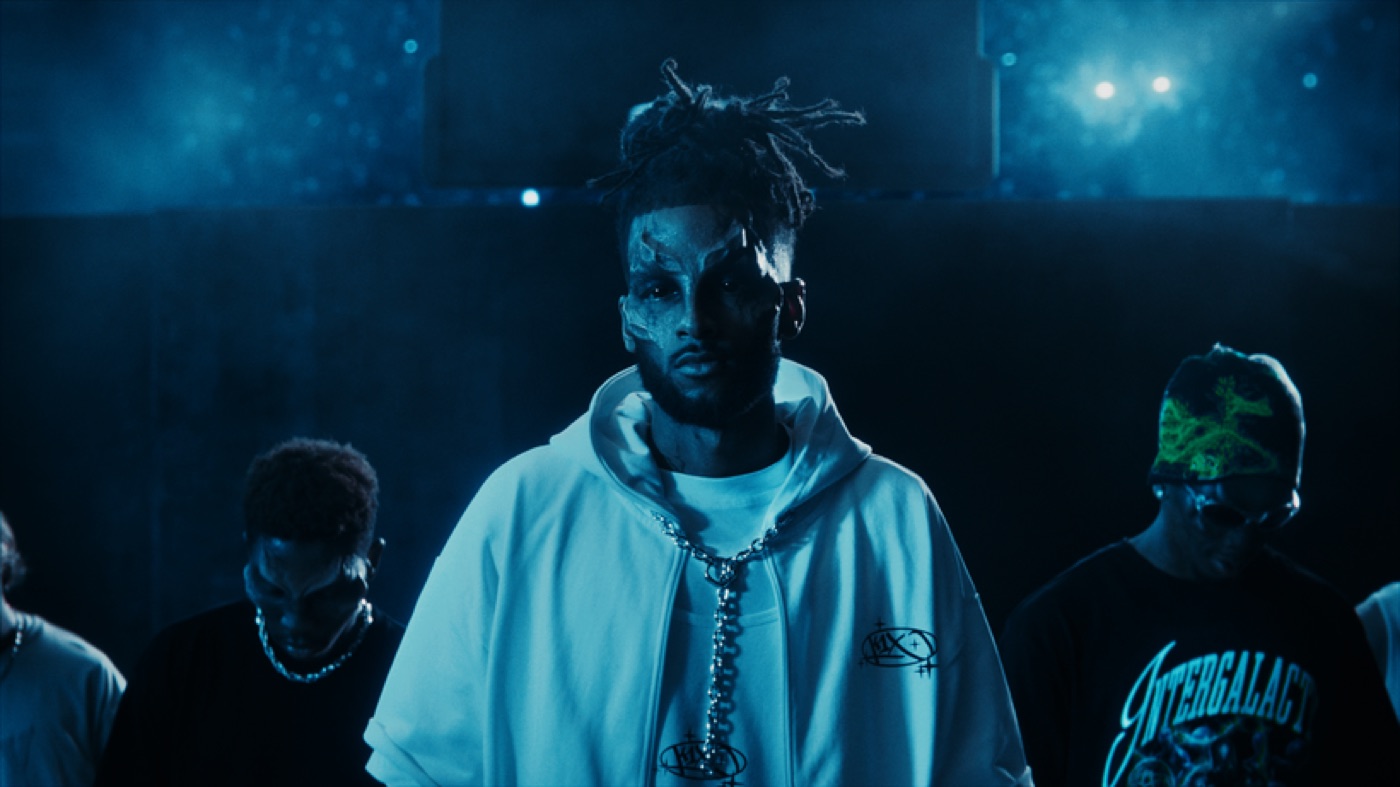
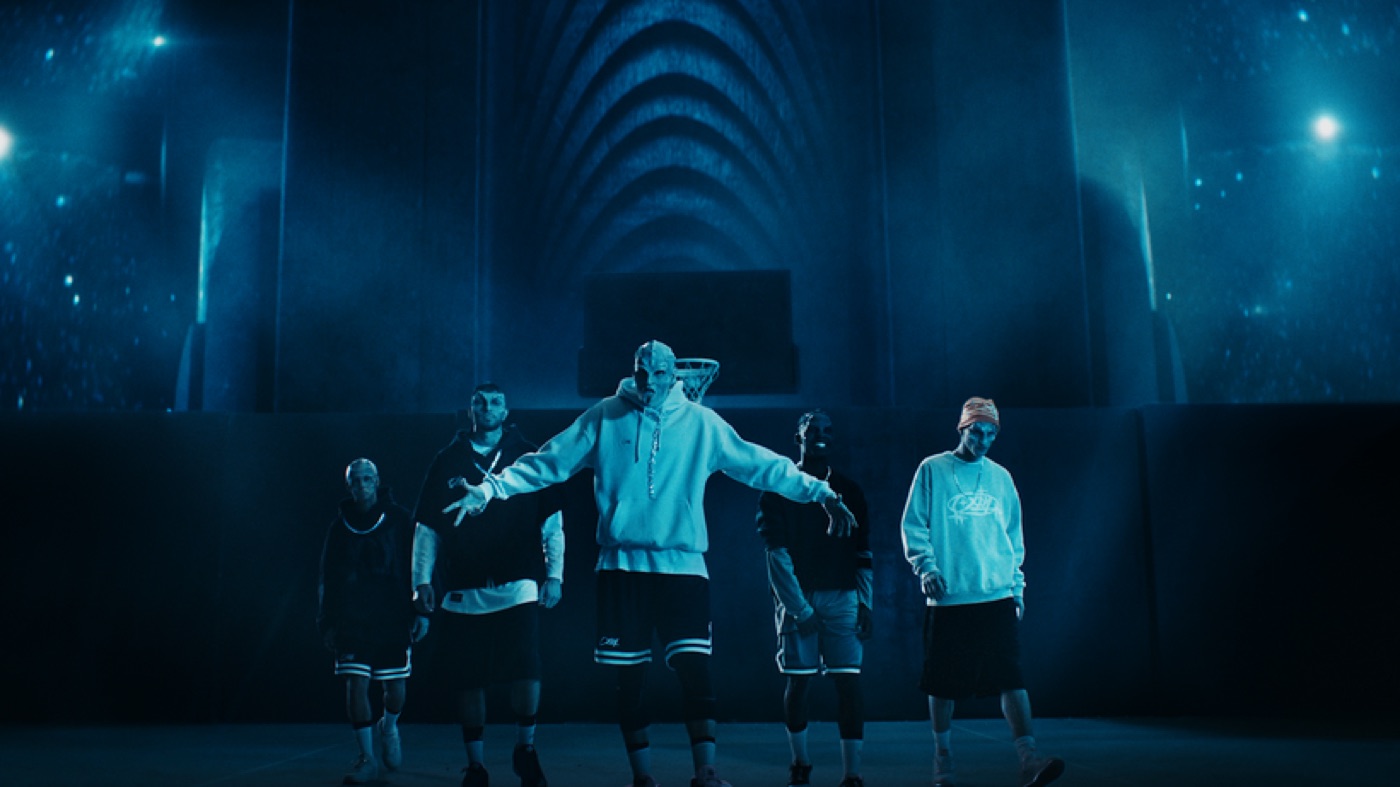
These two shots were taken on the Alexa Mini with a 50mm Master Prime lens on a Steadicam! Why 50mm? I wanted to focus more on the players while also showcasing the K1X gear and create a sense that the entire frame is filled with other players, so it wouldn't feel empty.
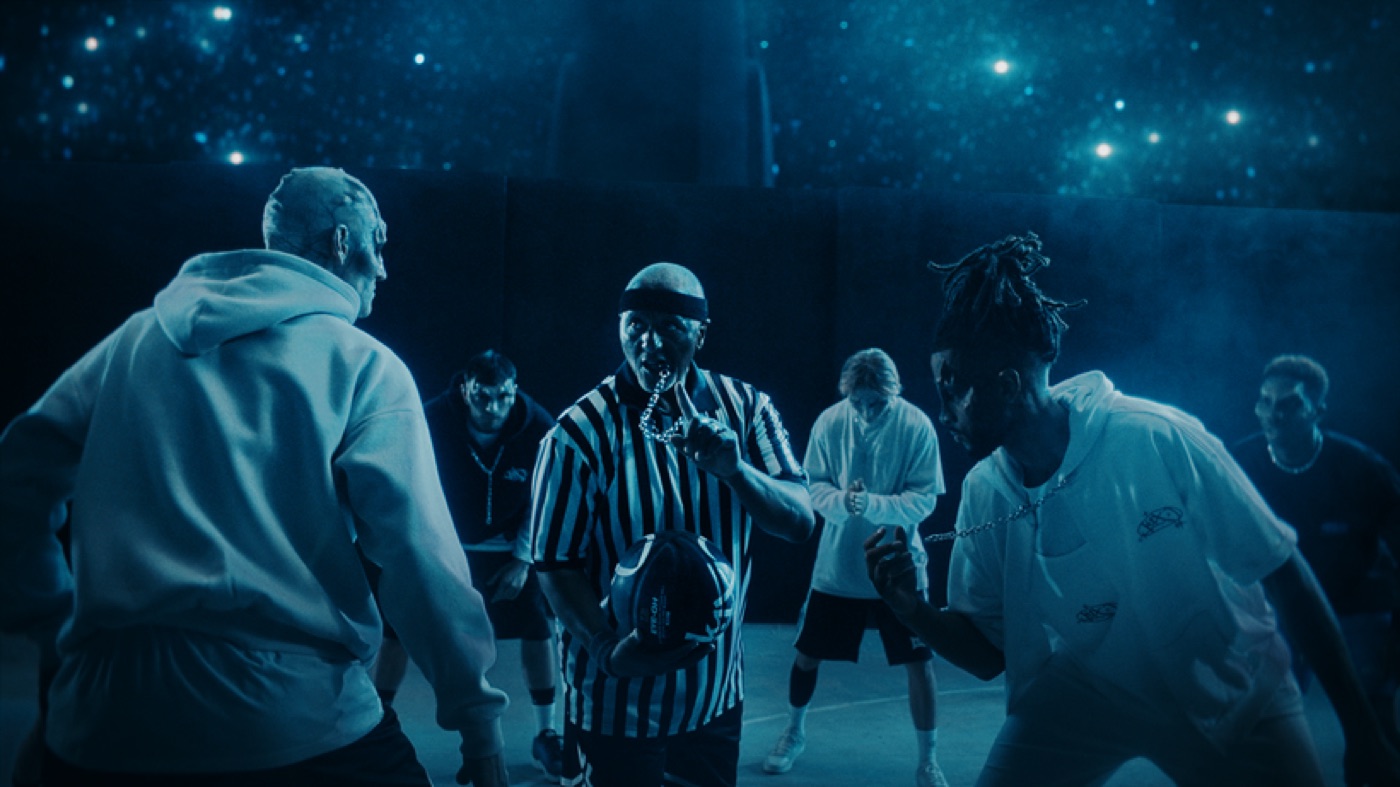
This shot was captured on a 25mm Master Prime! It’s the moment when the referee tosses the ball into the air in the mid shot! I wanted to be a bit closer to convey the tension and the start of the game.
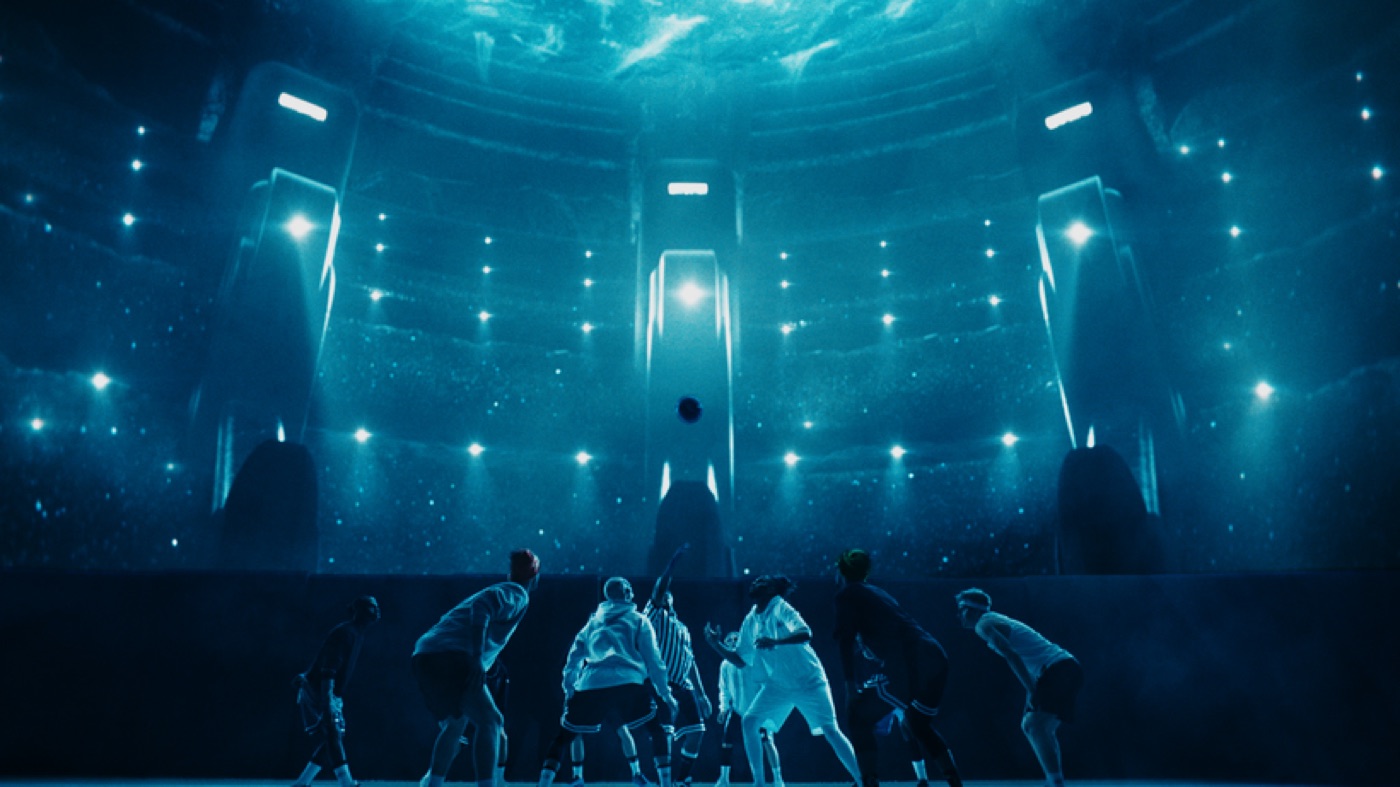
This shot was captured on a 32mm lens! I wanted to show a frame filled with players! It was shot on the Alexa Mini in 2K resolution at 200 frames per second! Not many people use slow motion on the Alexa, but I feel that the difference between 2K and 4K in the final output is hardly noticeable.
This shot was captured from above, using the Alexa Mini and a 32mm Master Prime lens! It was also in slow motion at 50 frames per second.
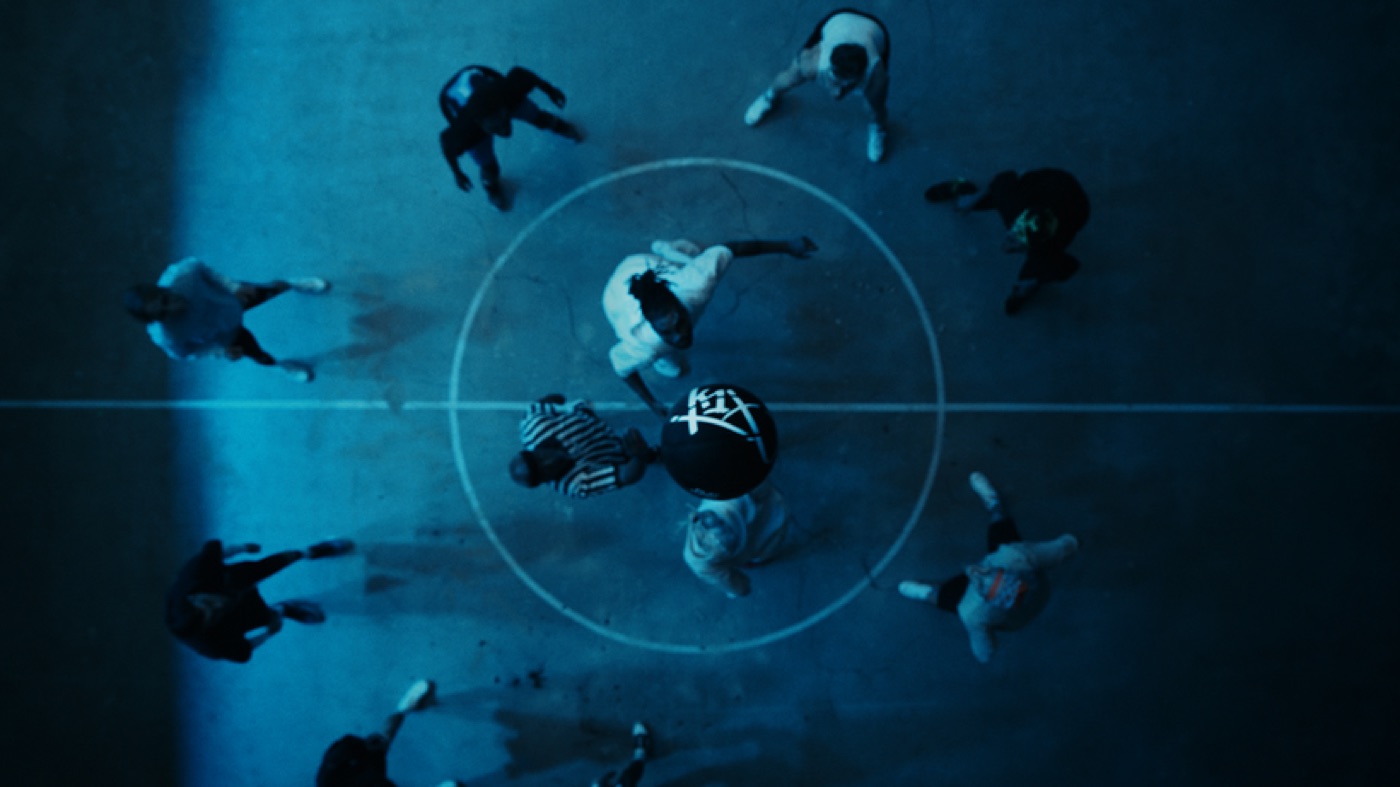
Top shot! Honestly, I remember that the Sony FX3 was on a small Ronin with a very wide lens. I asked the referee to toss the ball as close to the lens as possible to make it larger in the frame! The Ronin was rigged on a boom for the light; I know that sounds strange, but this way I managed to save about 40-50 minutes on setup time, as my camera assistants could prepare this setup while we were shooting other shots.
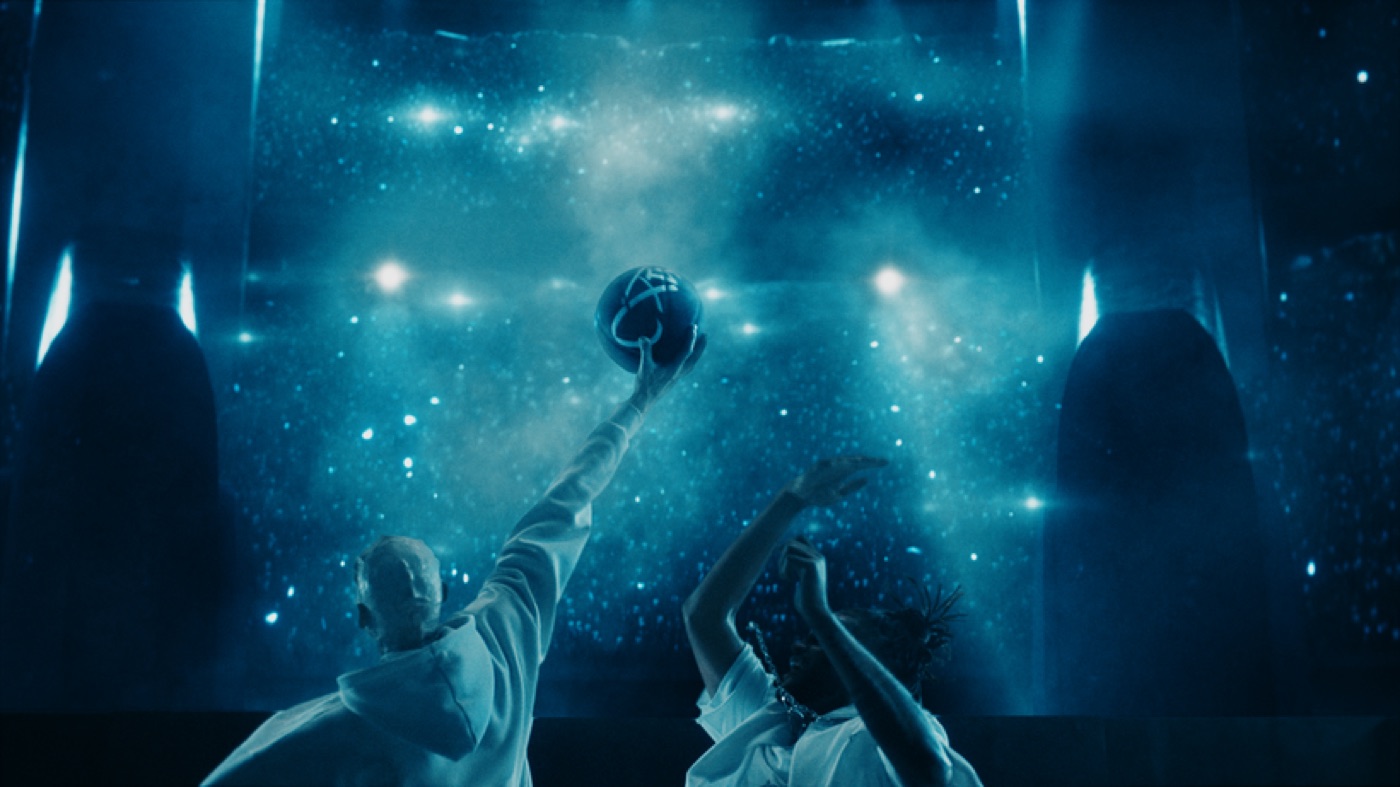
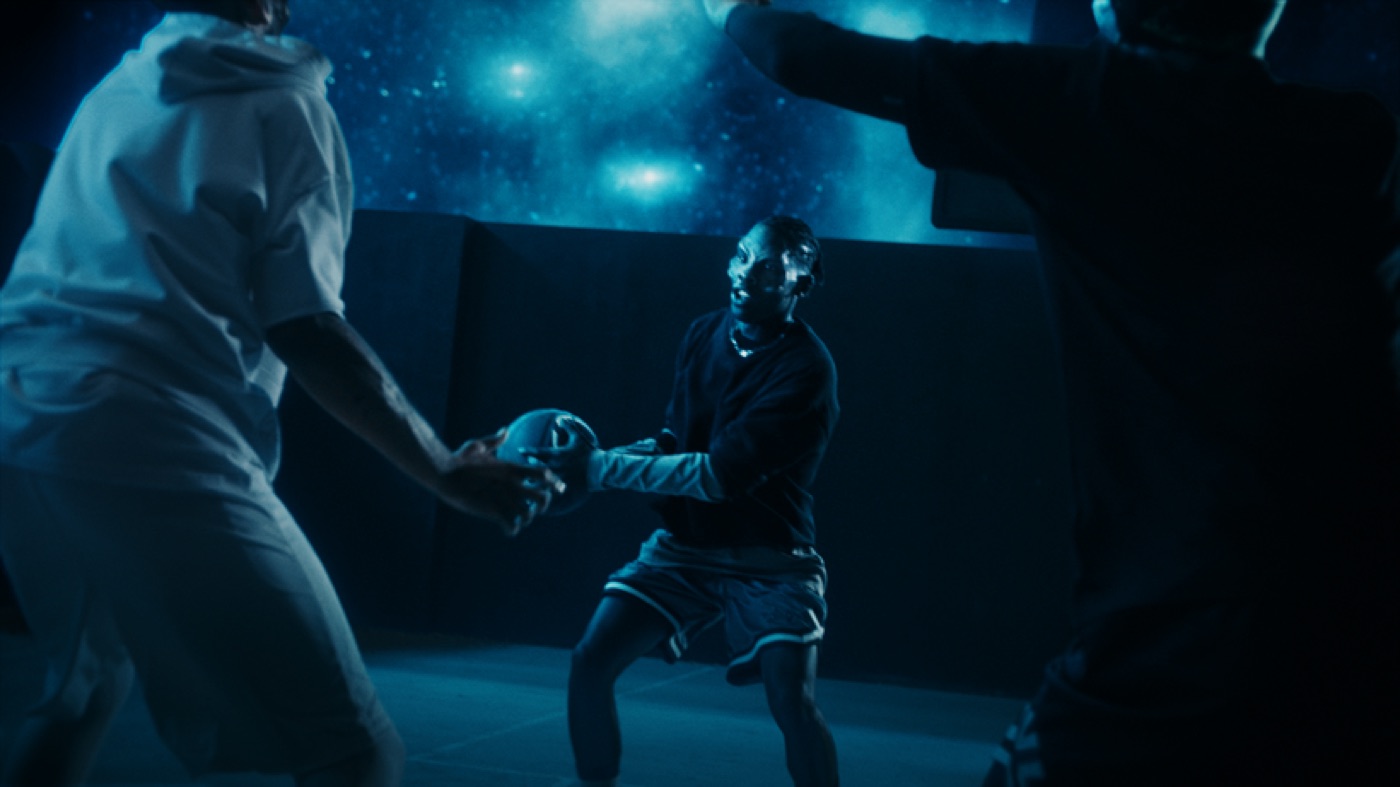
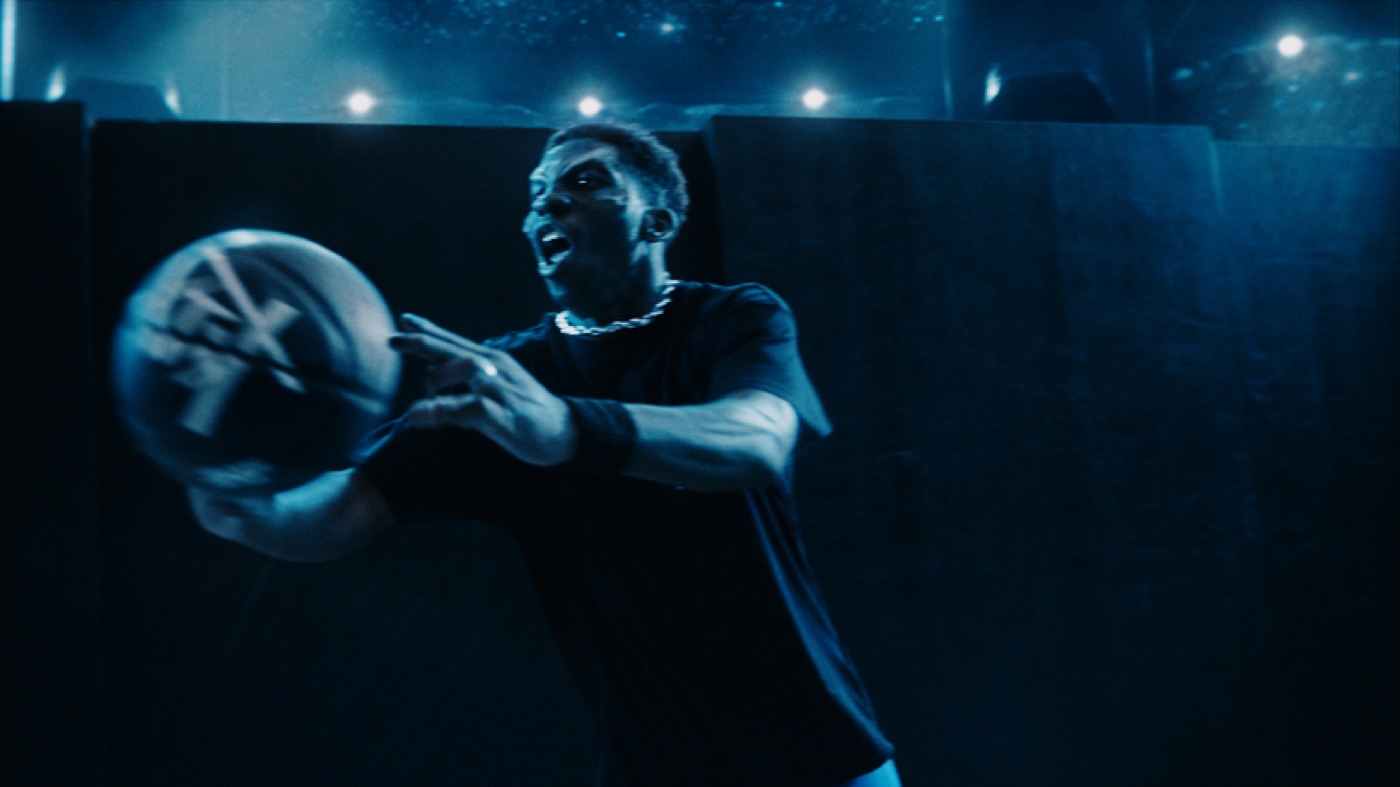
This series of basketball attacks was shot handheld on the Alexa Mini with a 32mm Master Prime! I wanted to capture the dynamic nature of the game, and the handheld camera really helped with that!
An important point is that to avoid motion blur, the shutter angle was set to 90 degrees! This made it easier to work with the slow motion.
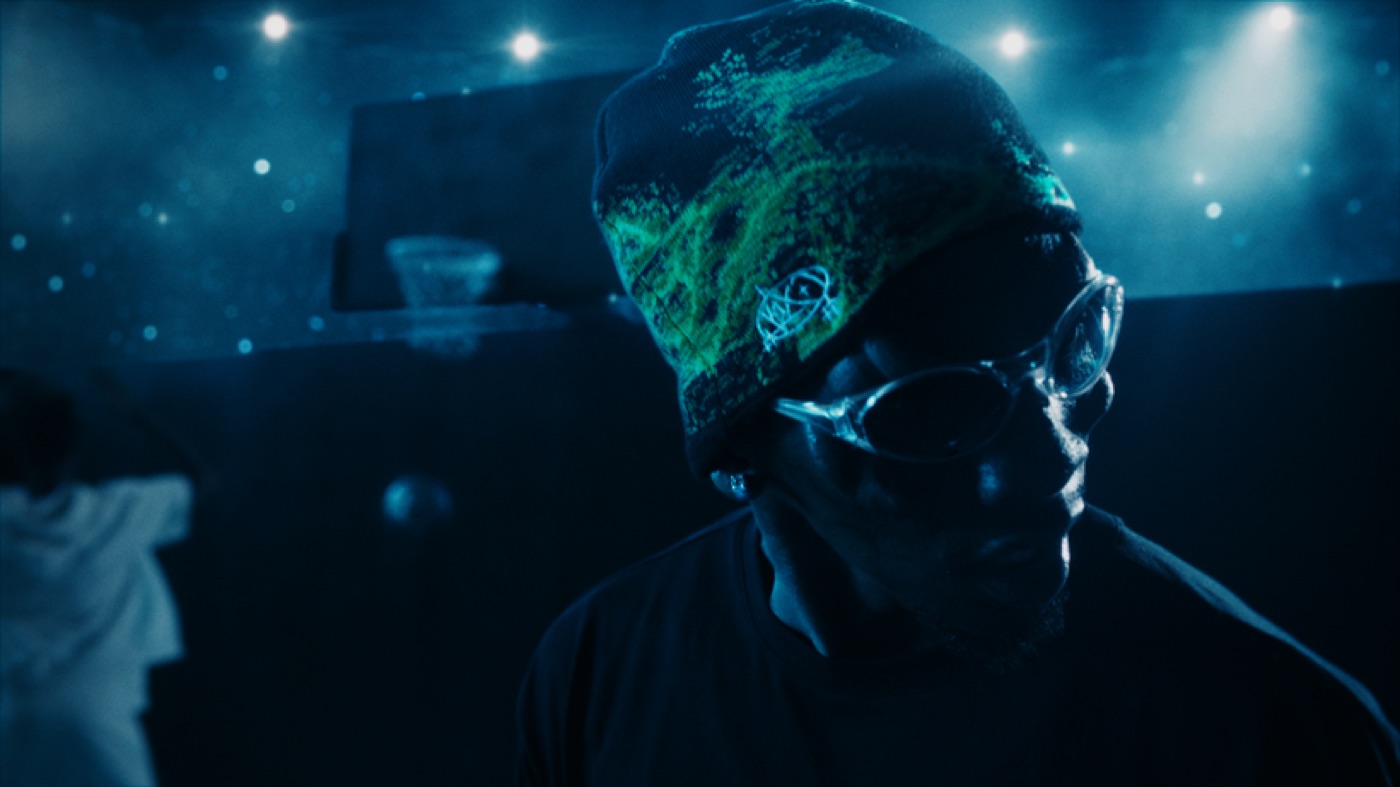
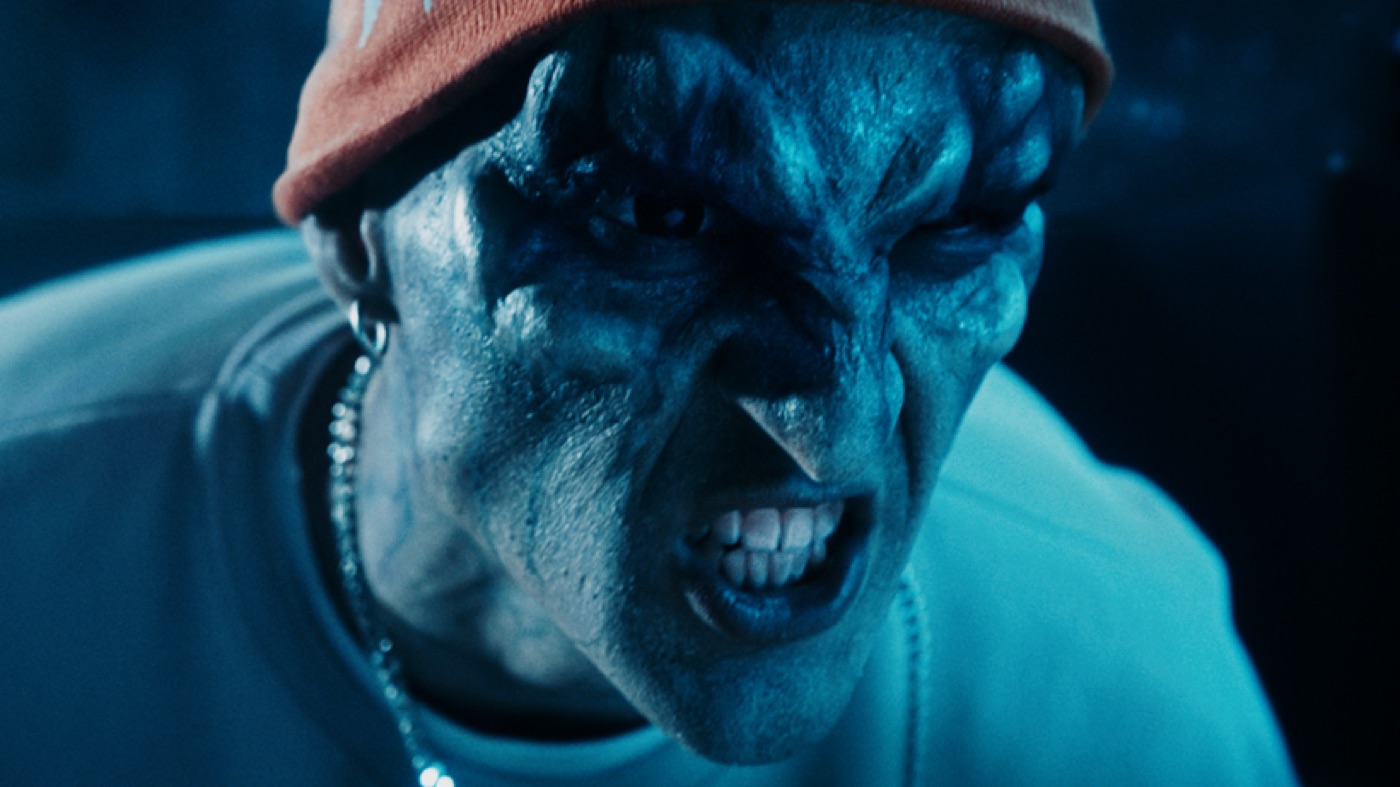
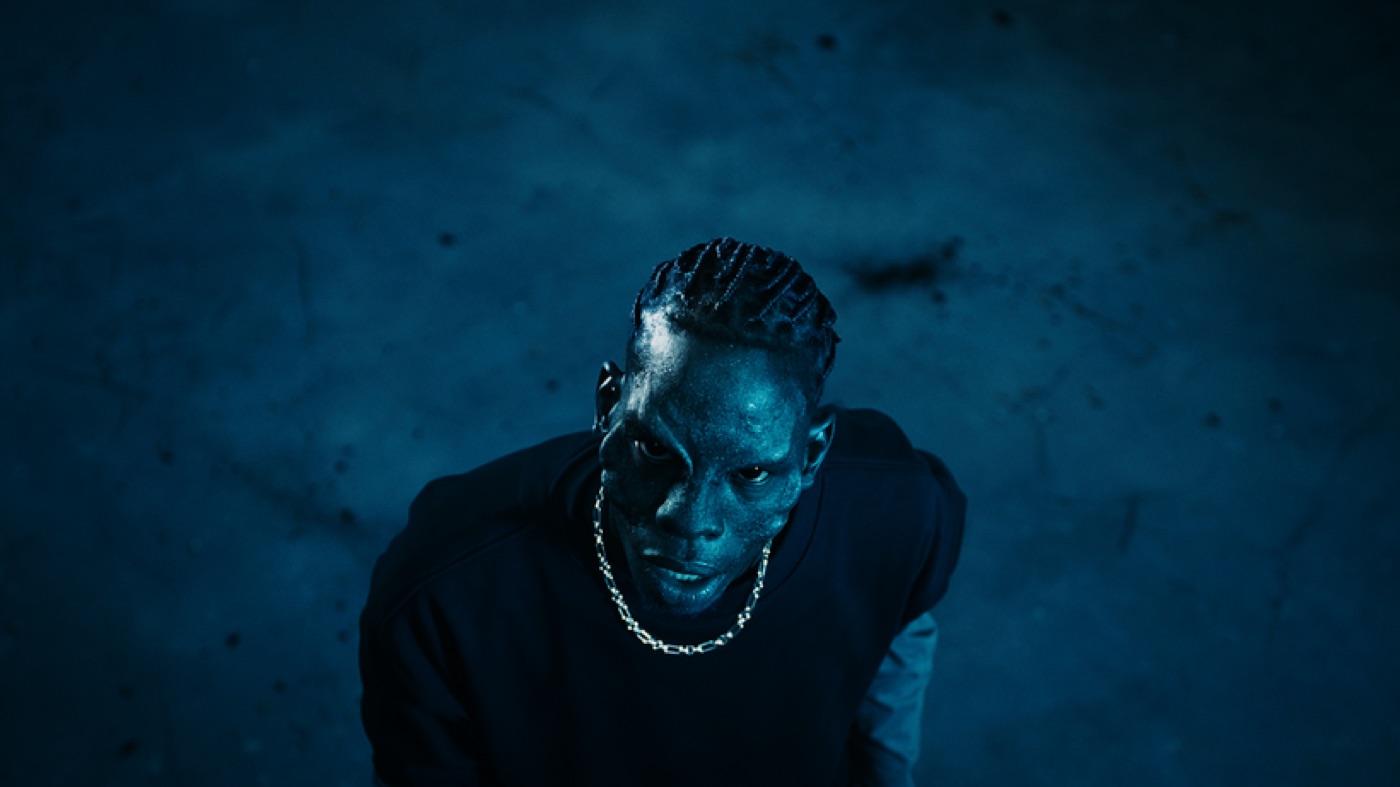
For these two portraits, I also used the 32mm Master Prime and the Alexa Mini; these shots were handheld! This allowed me to find the best angles for the portraits to convey emotions! I’ve noticed that I enjoy shooting portraits handheld. It just feels different compared to using a Steadicam.
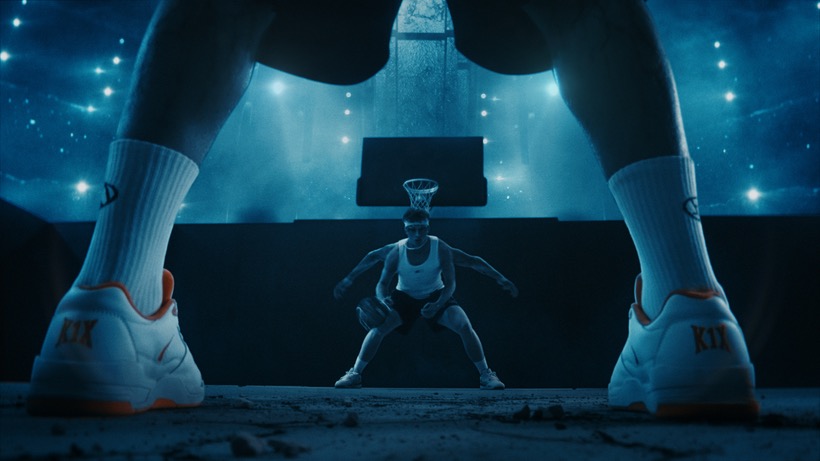
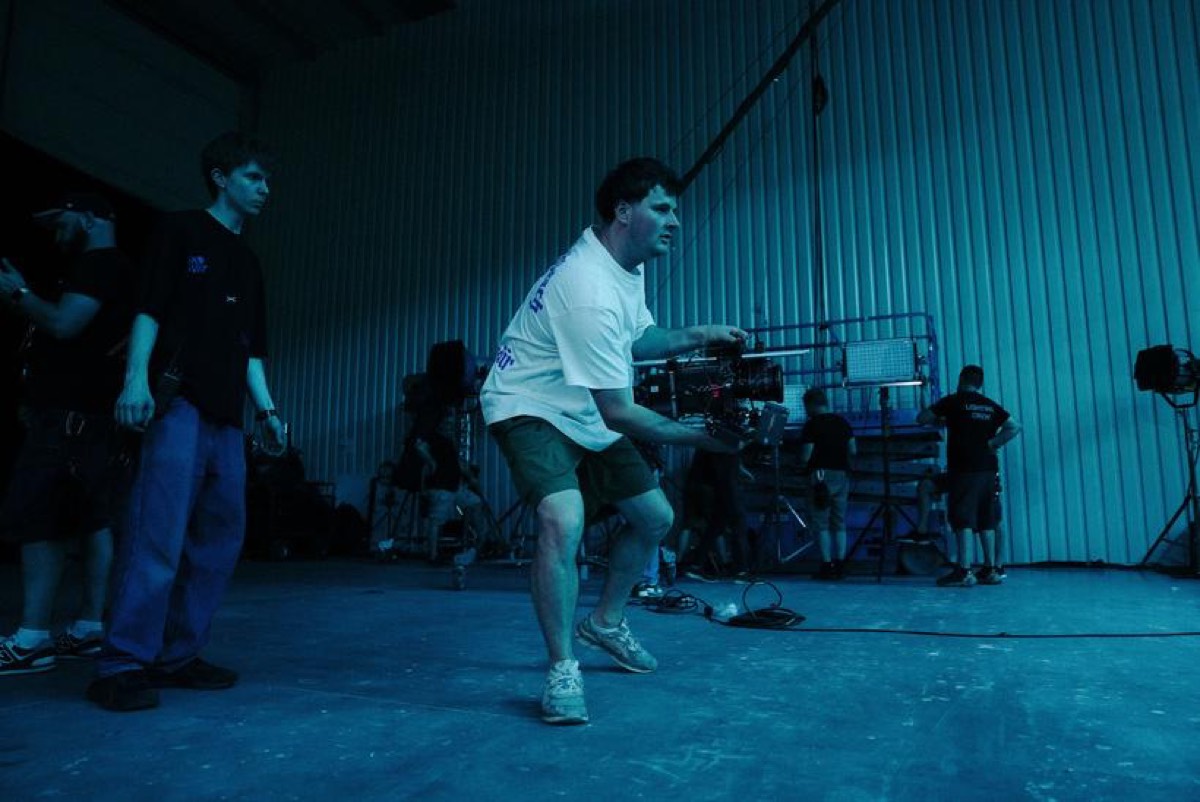
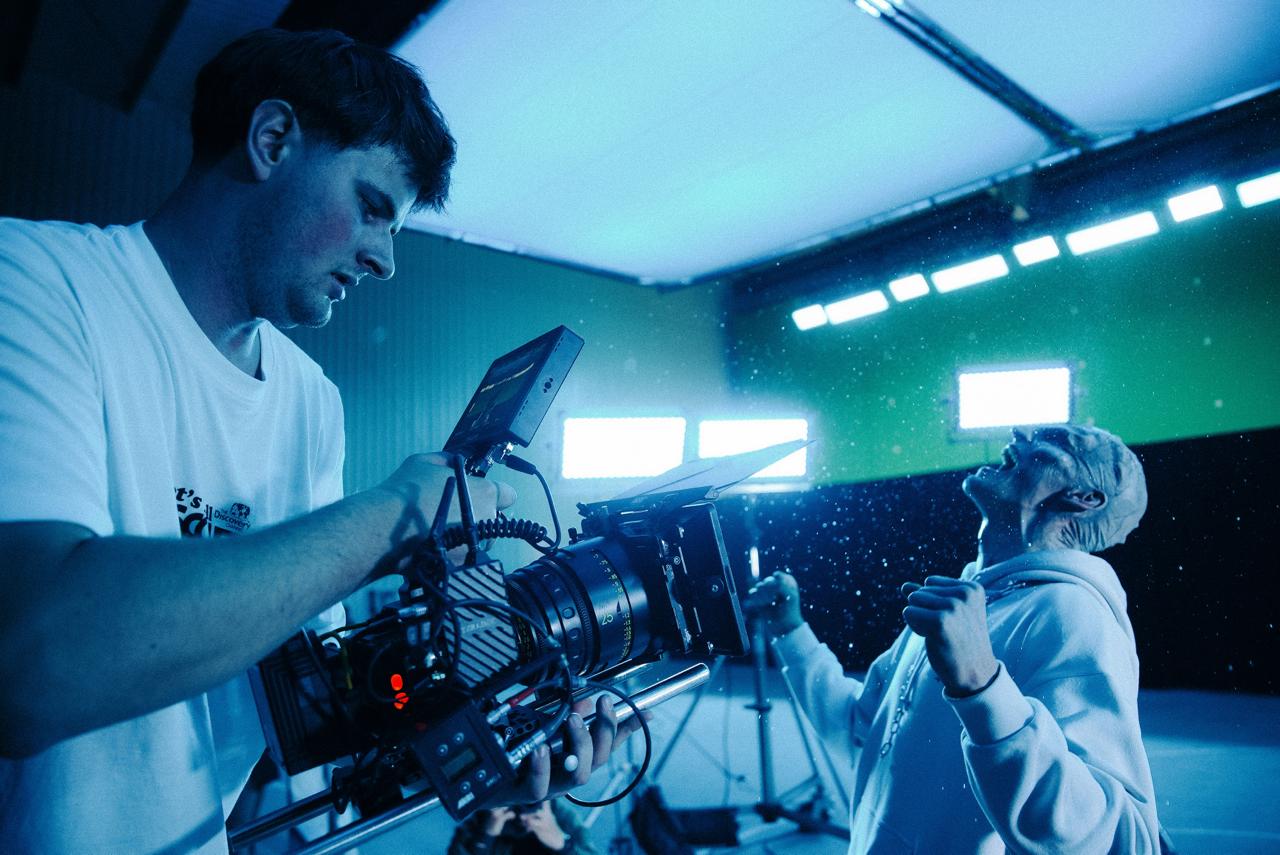
This shot was taken on a slider turned upside down (BTS photo below) using a Sony FX3 and a Laowa Probe 24mm T8!
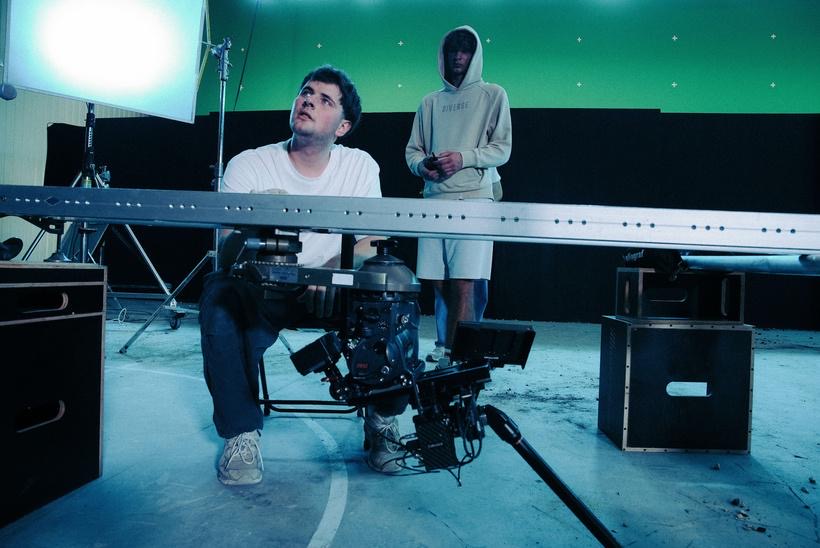
I would say this helped save about 30 minutes, as instead of shooting with the Steadicam, we captured this on the B camera.
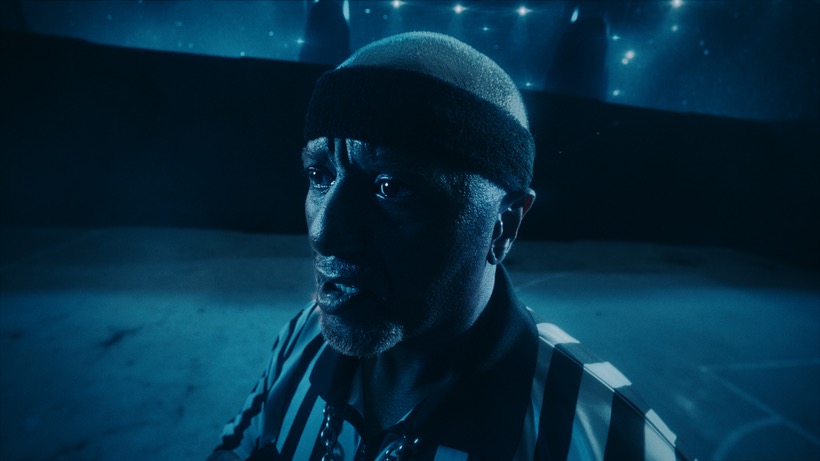
This shot was filmed on an Alexa with a 12mm Master Prime handheld.
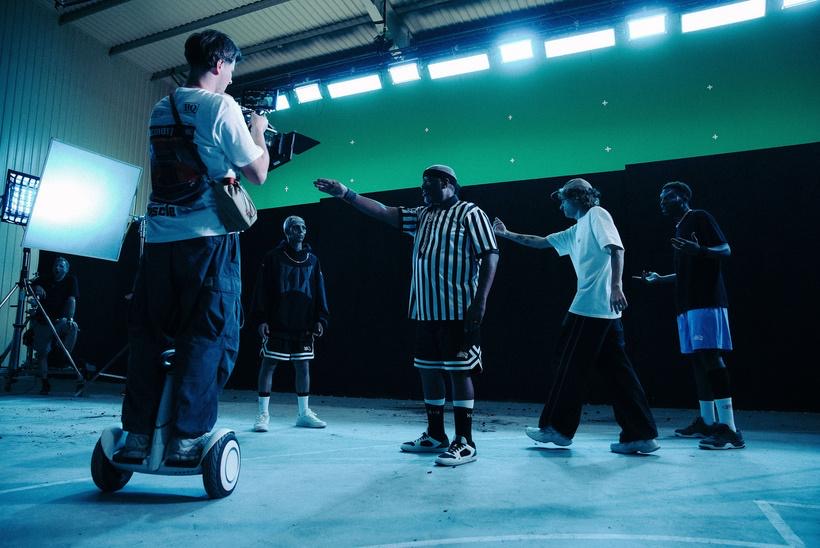
I wanted to get as close as possible to the referee’s face and slightly distort it. The 12mm lens allowed me to achieve this! I also used a Segway to smoothly move in for the close-up.
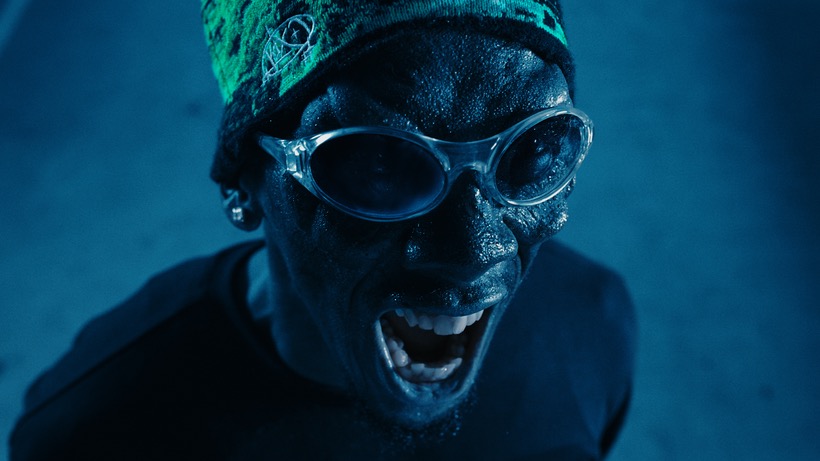
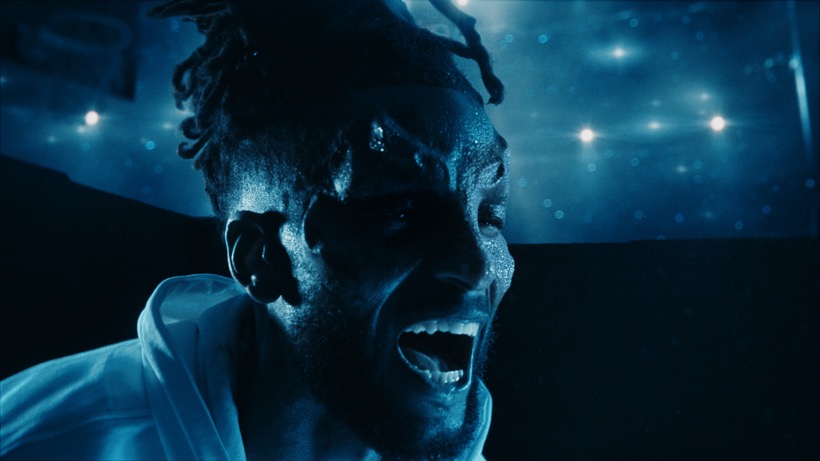
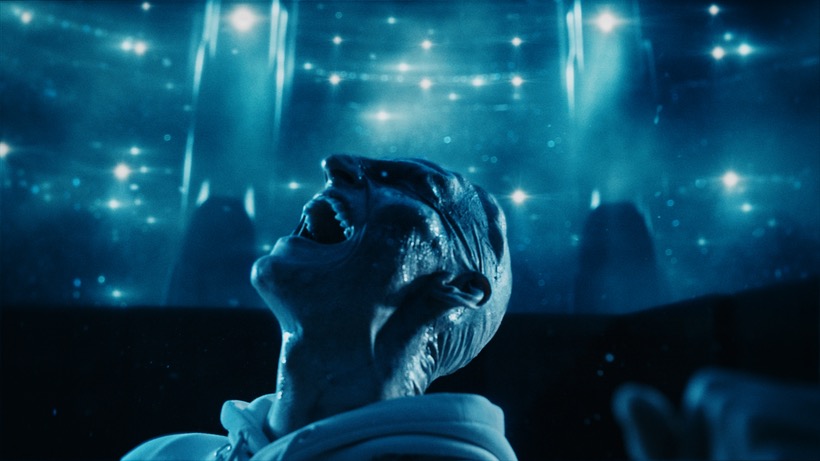
This series of shots was filmed on a Freefly Ember slow-motion camera at 5K and 600 fps! The actual working ISO on this camera is 400! The shots were handheld. Lens was 32mm Master Prime.
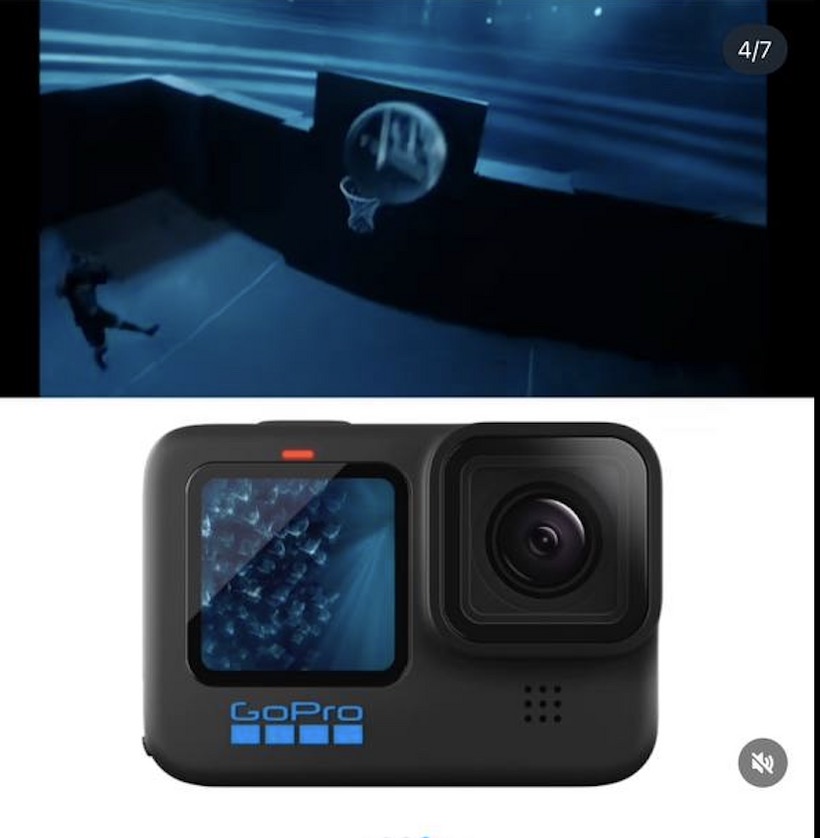
This shot was taken with an FPV drone and a GoPro 11 Black. I really wanted the drone to physically fly into the hoop, just like a basketball. This setup with the lightweight drone allowed us to achieve that. We didn’t break any drones or cameras; everything remained intact as the drone got stuck in the hoop each time.
The settings were very similar to the 360 camera. It was a flat color profile, with ISO around 400. The shutter was as tight as possible, if I’m not mistaken, around 1/102 or 1/104. We shot everything on Full Sensor, with a square resolution, something like 3:4 or something along those lines. I don’t remember exactly.
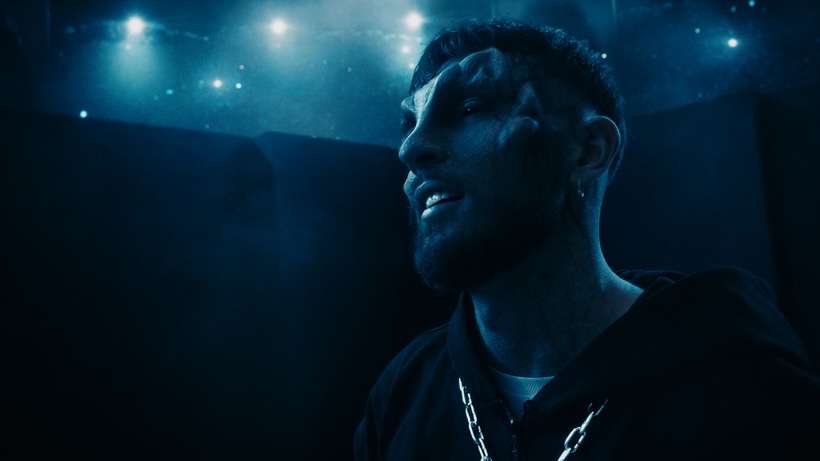
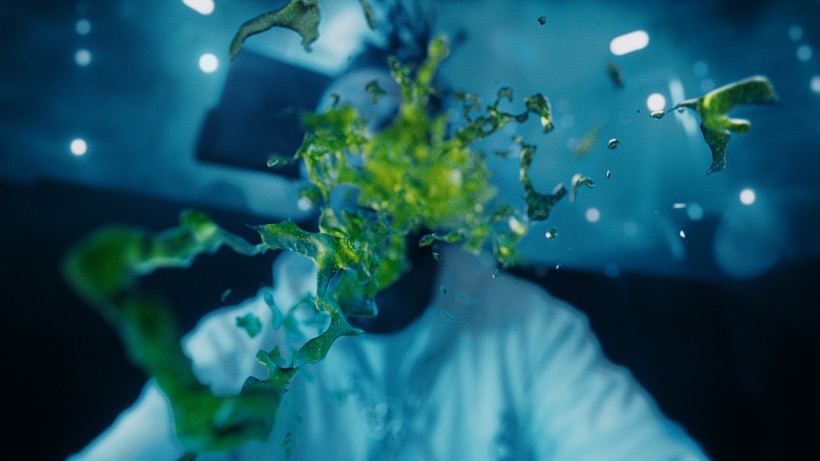
These two shots were filmed on the ALEXA MINI with a 12 Master Prime lens. For the second shot, I asked the basketball player to hold onto the supports sticking out from the camera. This created the impression that he grabbed another player by the jersey, as if he pulled him and spat right in his face. Of course, no one actually spat at the camera; that was all done in post-production.
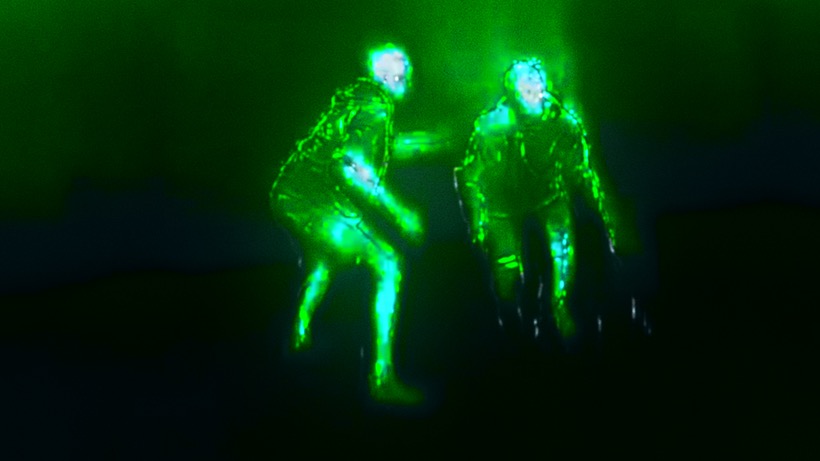
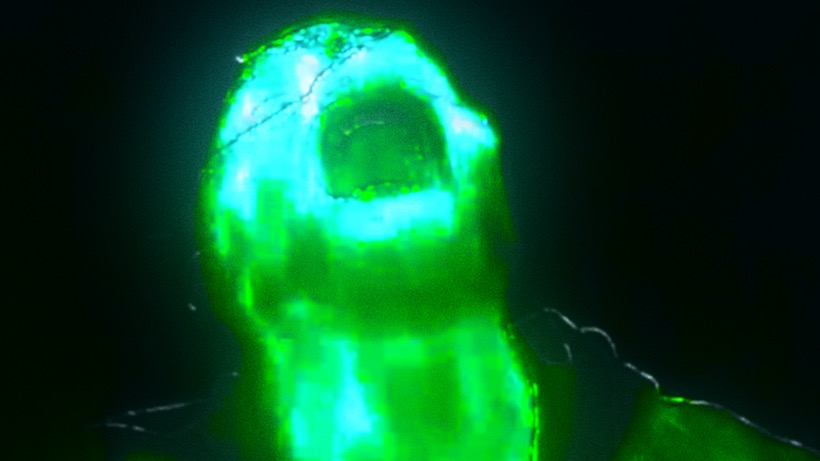
This series of shots was filmed on the iPhone 15 Pro Max with a special attachment, the SlashCamera thermal imager (FLIR One Pro).
Initially, the image looked orange, but after experimenting with several options in color grading, we decided that green fit perfectly with the colors.
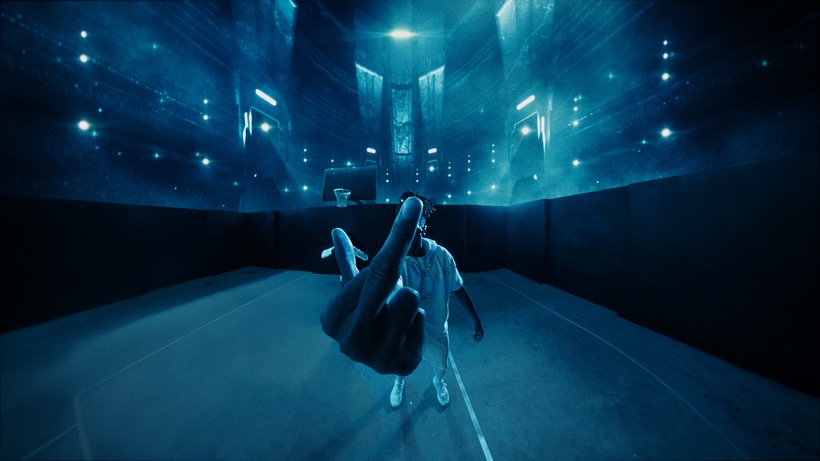
This shot was taken with my personal Insta360 ONE RS camera, which I held by hand using a Magic Arm that I attached to it. As of now, it is still one of the best 360 cameras that allows for matching footage with the main camera, the Alexa Mini.
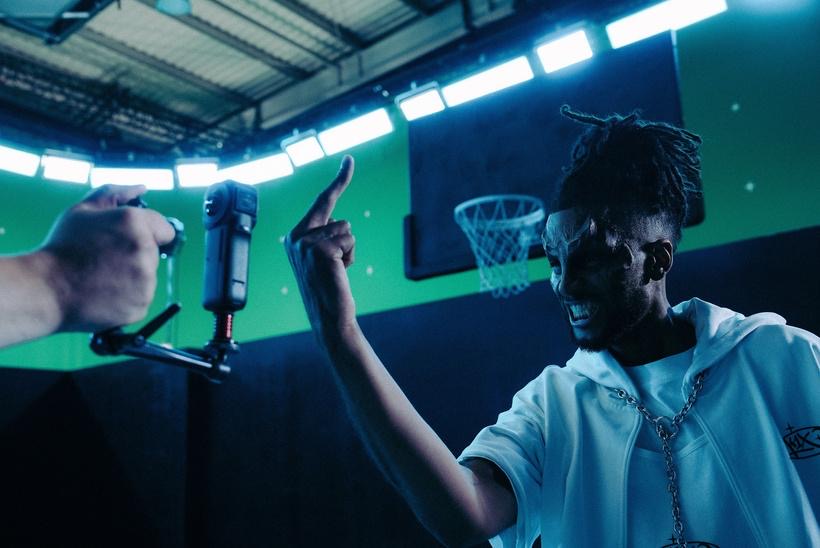
In terms of settings, I of course selected the log profile, and the camera’s ISO cannot exceed 800. I also set the shutter to the shortest possible to avoid motion blur.
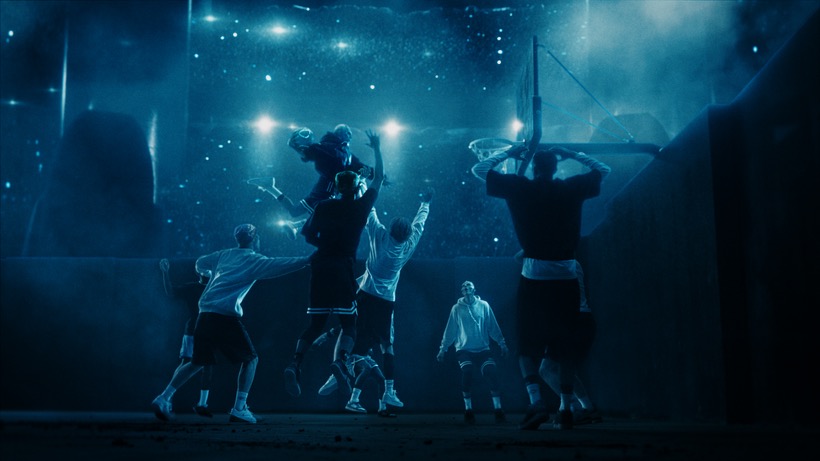
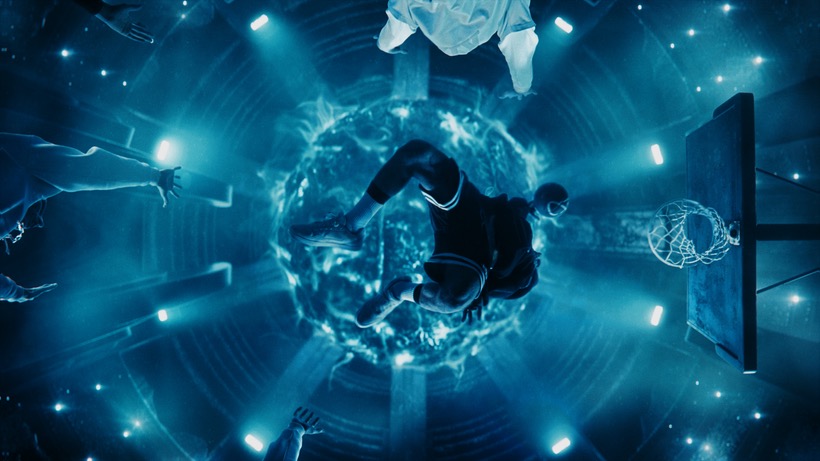
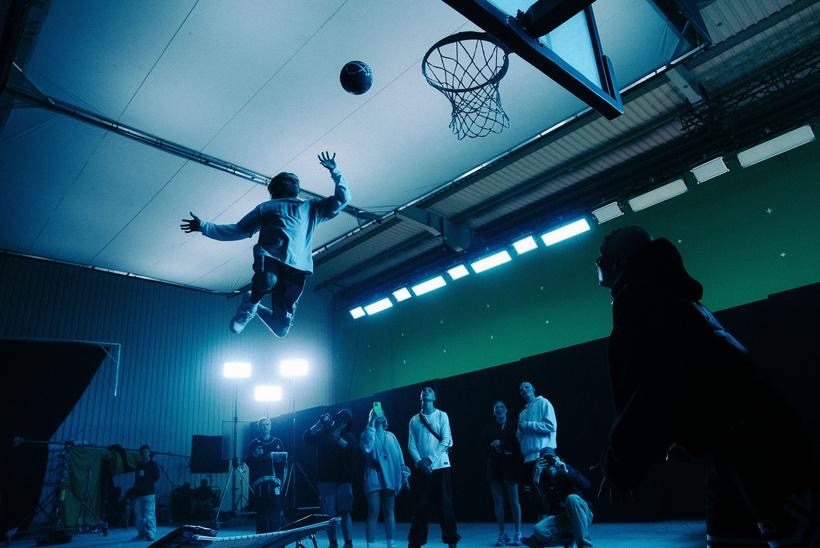
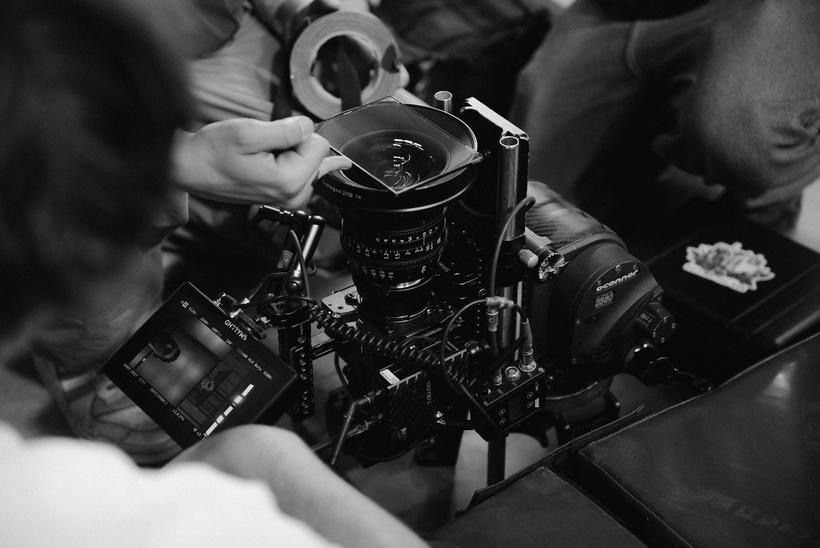
These shots were taken with the FreeFly Ember 5K slow-motion camera with a 32mm Master Prime and a 10mm Ultra Prime lens to achieve the widest and most epic moment. This serves as the final point, the ultimate dunk in this game.
Well, that’s it! I’ve gone through all the shots from this project. I hope you enjoyed this breakdown and found something new for yourself. Personally, I’ve definitely decided after this project that small cameras aren’t always a bad thing; in fact, they can be quite beneficial. By saving time, you can, first of all, save money for production, and secondly, capture more shots. And that’s it!
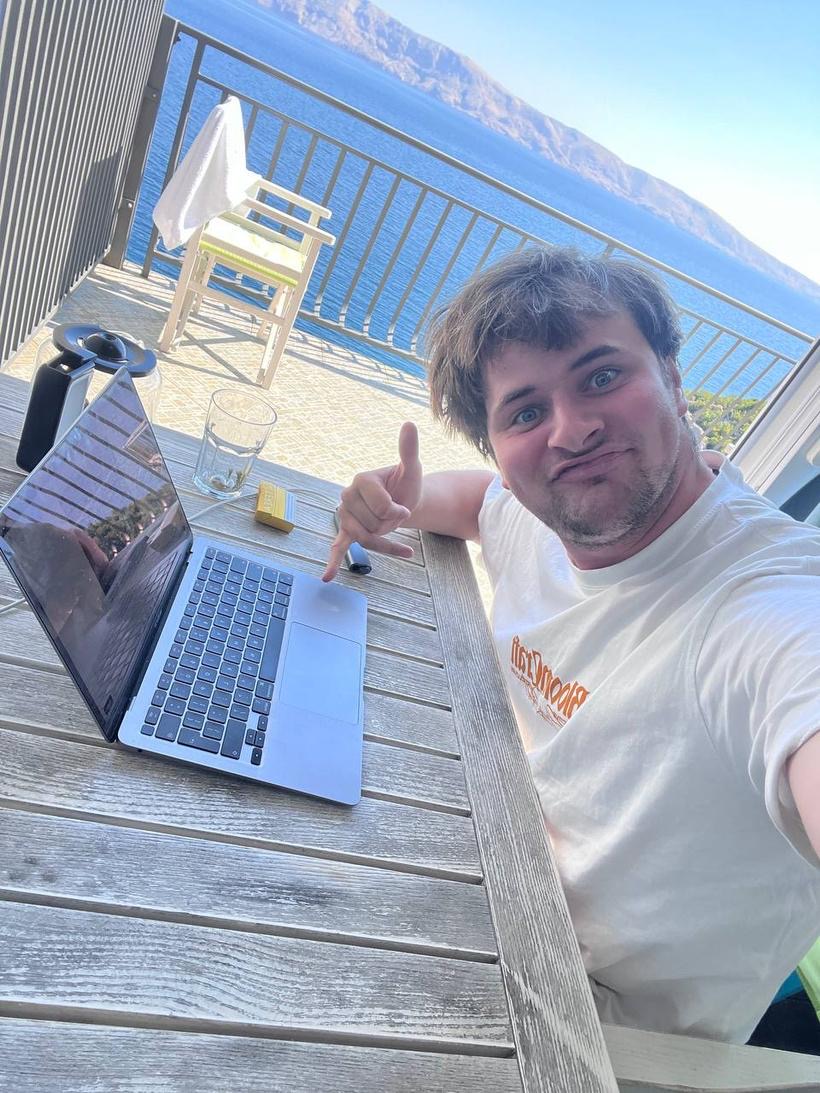
Feel free to ask if you have any questions; I’ll be happy to answer them. Wishing everyone a great day, and I look forward to seeing you in my upcoming posts. Cheers!
Best,
Nikita!
More like this
Get the full Breakdown Library
Dozens of breakdowns like this — lighting, camera and lens decisions from real commercial shoots, with new productions every month.
Keep watching
More breakdowns
 Free
Free
How to shot on FPV DRONE + HANDS
 Members
Basketball Commercial / Lights + Unreal Engine Prep
 Members
How to shoot motorcycle in a studio? / YAMAHA R1
 Members
How to shoot on big chromakey
 Members
Ten Camera Moves I Actually Use
 Members