How to shoot on FPV Drone + Hands
Camera breakdown from a music video shoot — the FPV opening shot, car-mounted rigs, lens choices and the thinking behind each setup.
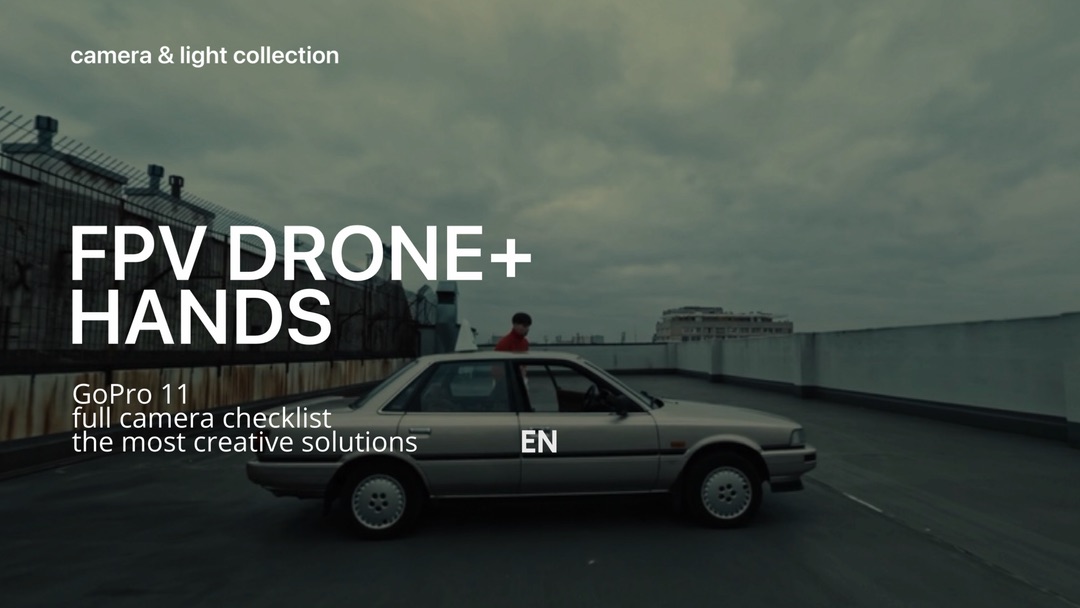
Hello everyone!
Today, I'm excited to walk you through the camera breakdown from my recent music video project for a Polish rap artist. This project was a fantastic creative journey, and before we begin, I'd like to extend a heartfelt thank you to the producer team and director for providing me with this amazing opportunity and FOR SURE - HUGE THANKS goes to my camera department for their incredible dedication and speedy work 🤍🎥!
Now, let's get into the camera breakdown!
Absolutely, I recommend watching the video before proceeding further, PLEASE!)
Сertainly, let's move through the shots step by step.
The opening shot of the music video is intended to captivate the audience's attention and sustain it until the story unfolds. Given this, I spent a significant amount of time brainstorming ways to genuinely surprise viewers. This led me to devise the idea of the first-person view (FPV) drone shot. In this sequence, the FPV drone enters the vehicle, executes a 180-degree flip, exits the car, follows the character, attaches to the vehicle, and then starts moving alongside it. This intricate shot aims to engage the audience right from the start, setting the stage for the unfolding narrative.
Okay, that's just an idea, but how about making it a reality?
I immediately got in touch with my friend and a neighboring FPV idol, Lukas Lewenda , and shared my concept with him. Lukas came up with the ingenious suggestion that we could attach small magnets to the drone's handle, allowing it to magnetize to the car's surface.
So, in the end of the day it was looking like this
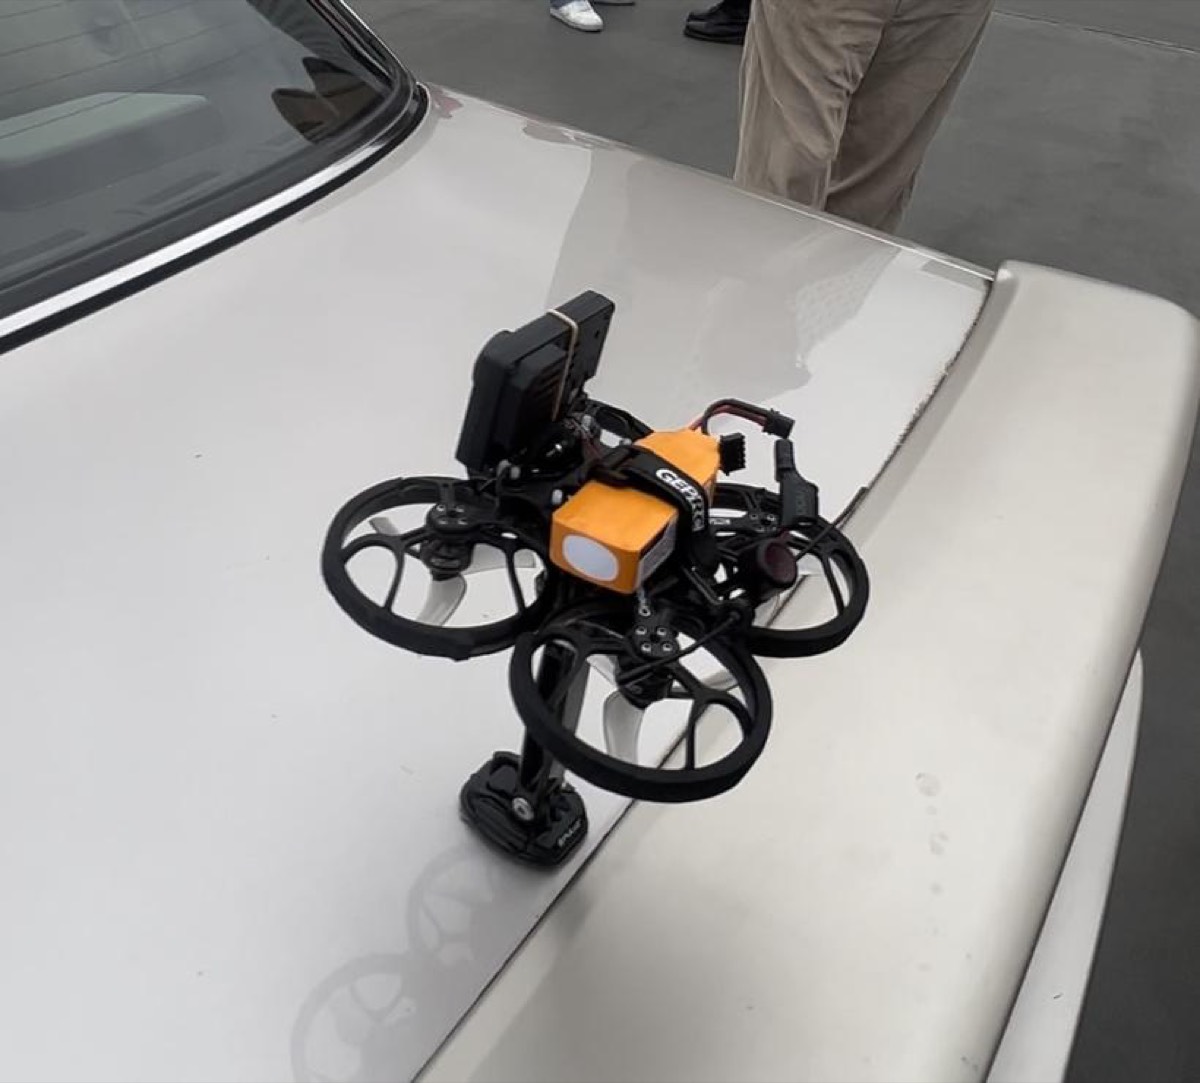
Naked and beloved, the GoPro 11 action camera on board!
BTS my POV video attached underneath!
Shots like these require thorough testing and rehearsals. That's why a few days before the actual shoot, we gathered and conducted a "drone test" to ensure that this shot would unfold exactly as intended. Testing beforehand allowed us to iron out any potential issues and build confidence that the shot would work seamlessly.
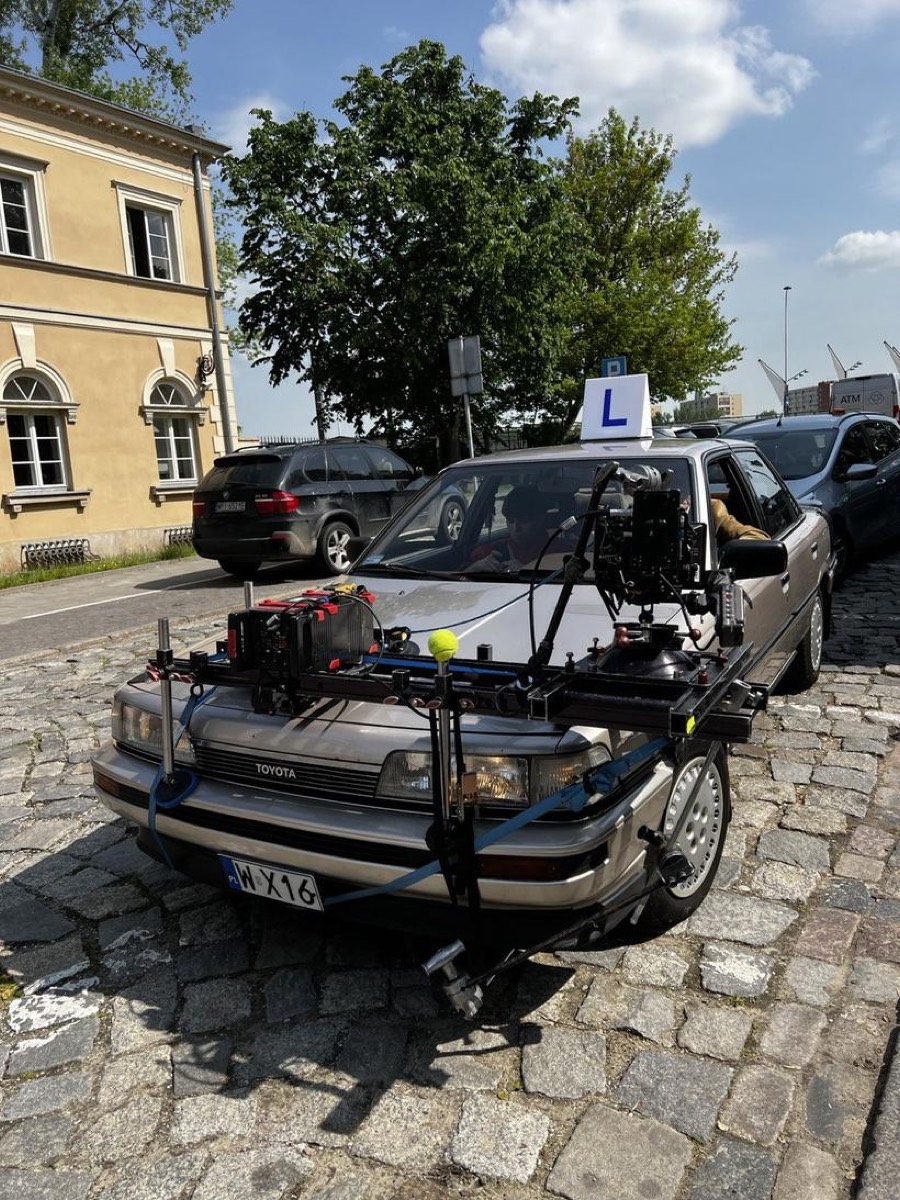
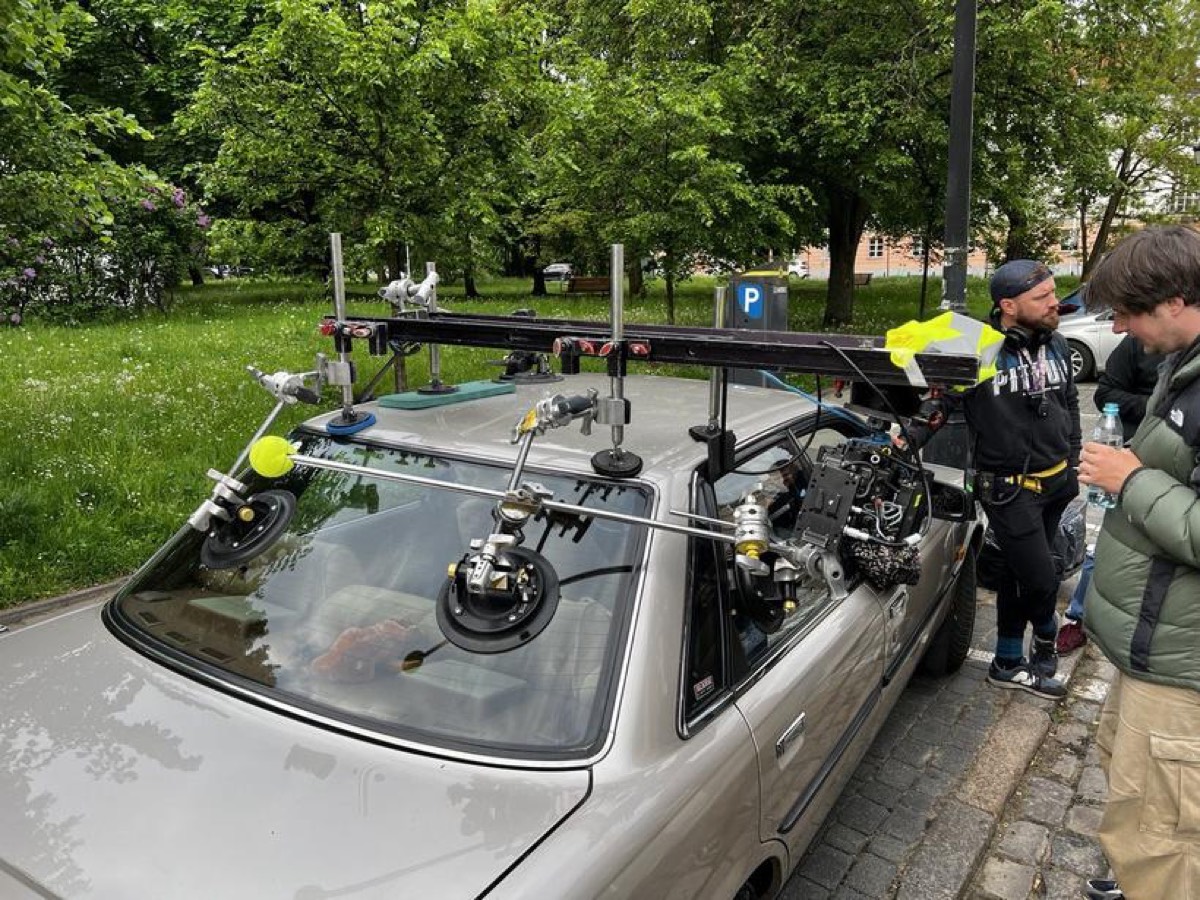
The next sequence of shots involves rigging the camera to the car using mounts.
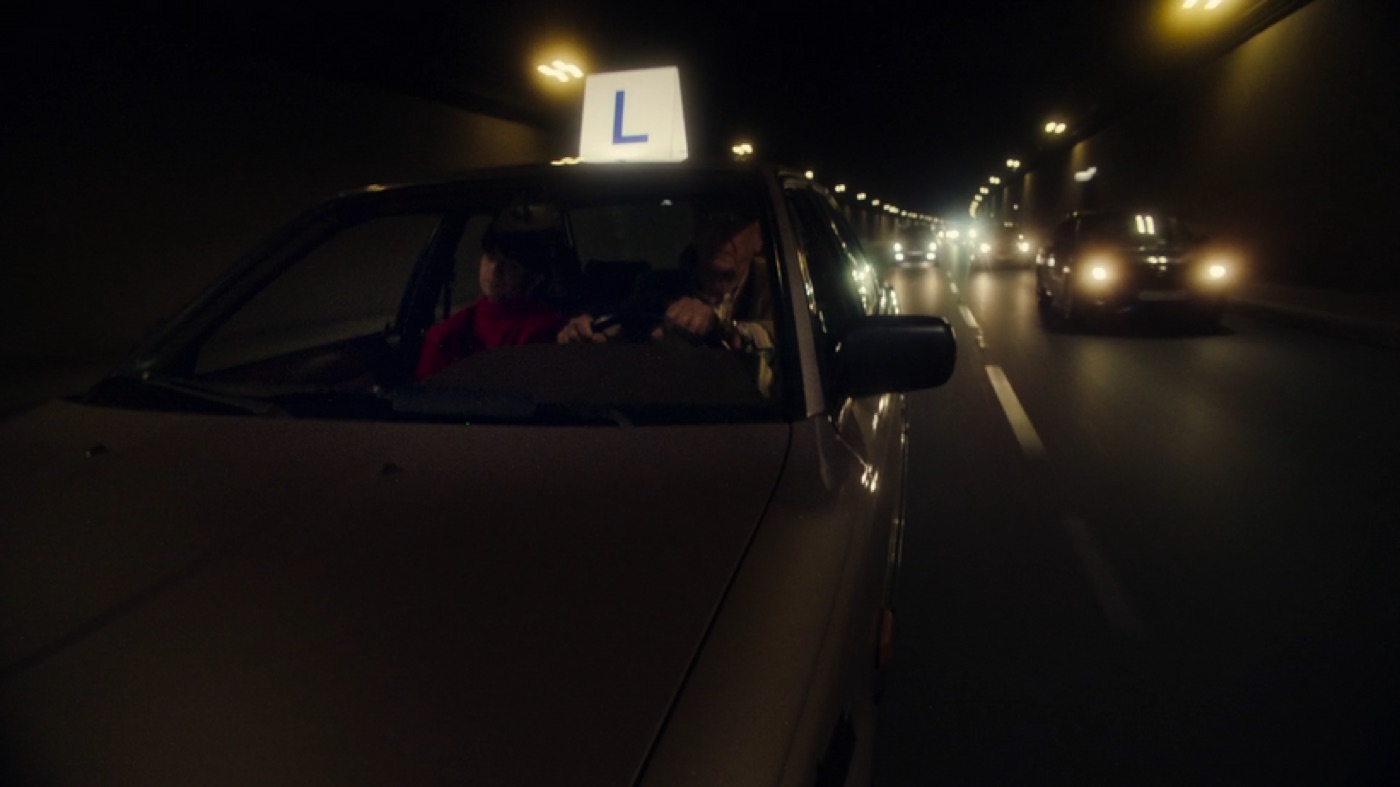
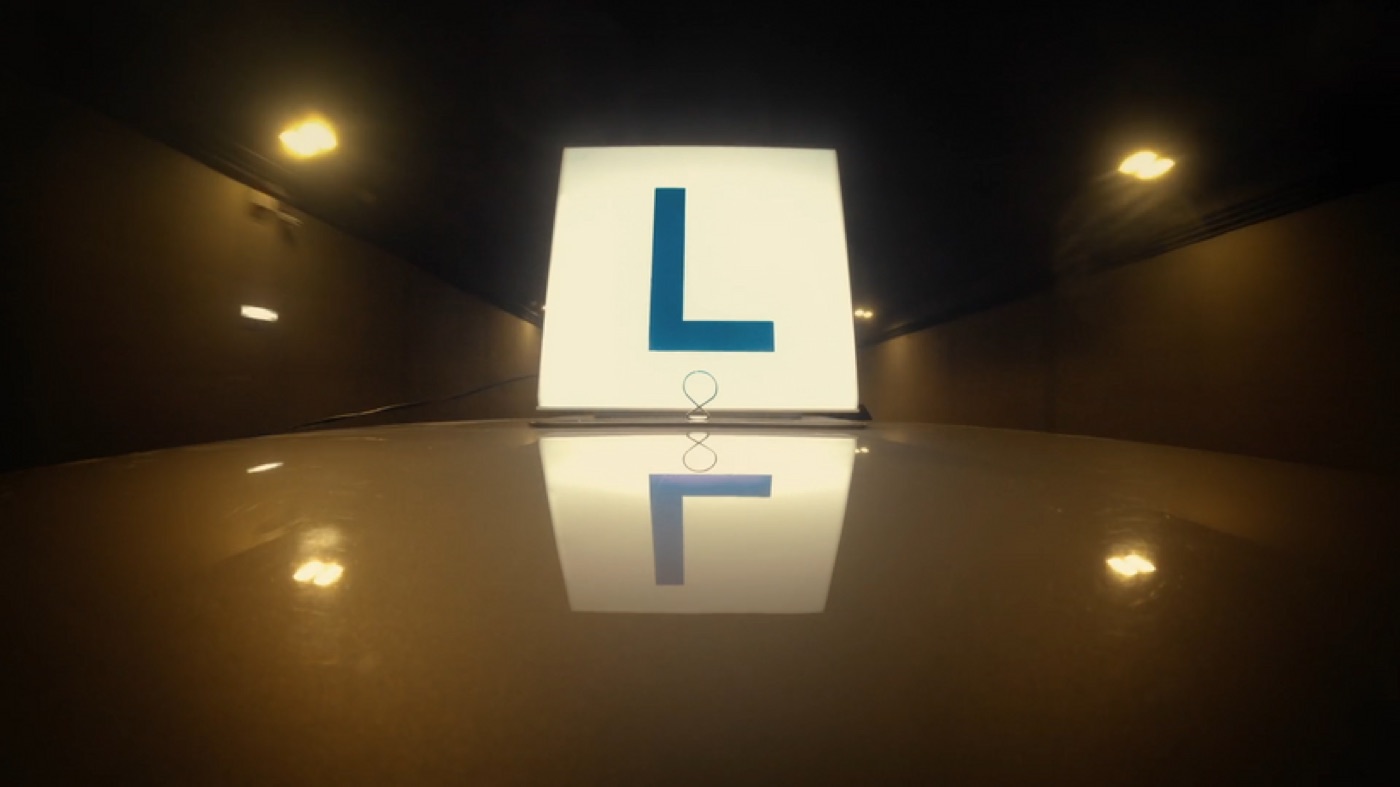
In the first case, it was the GoPro 11, and in the second, the Alexa Mini.
By the way, here's a list of the camera equipment I use:
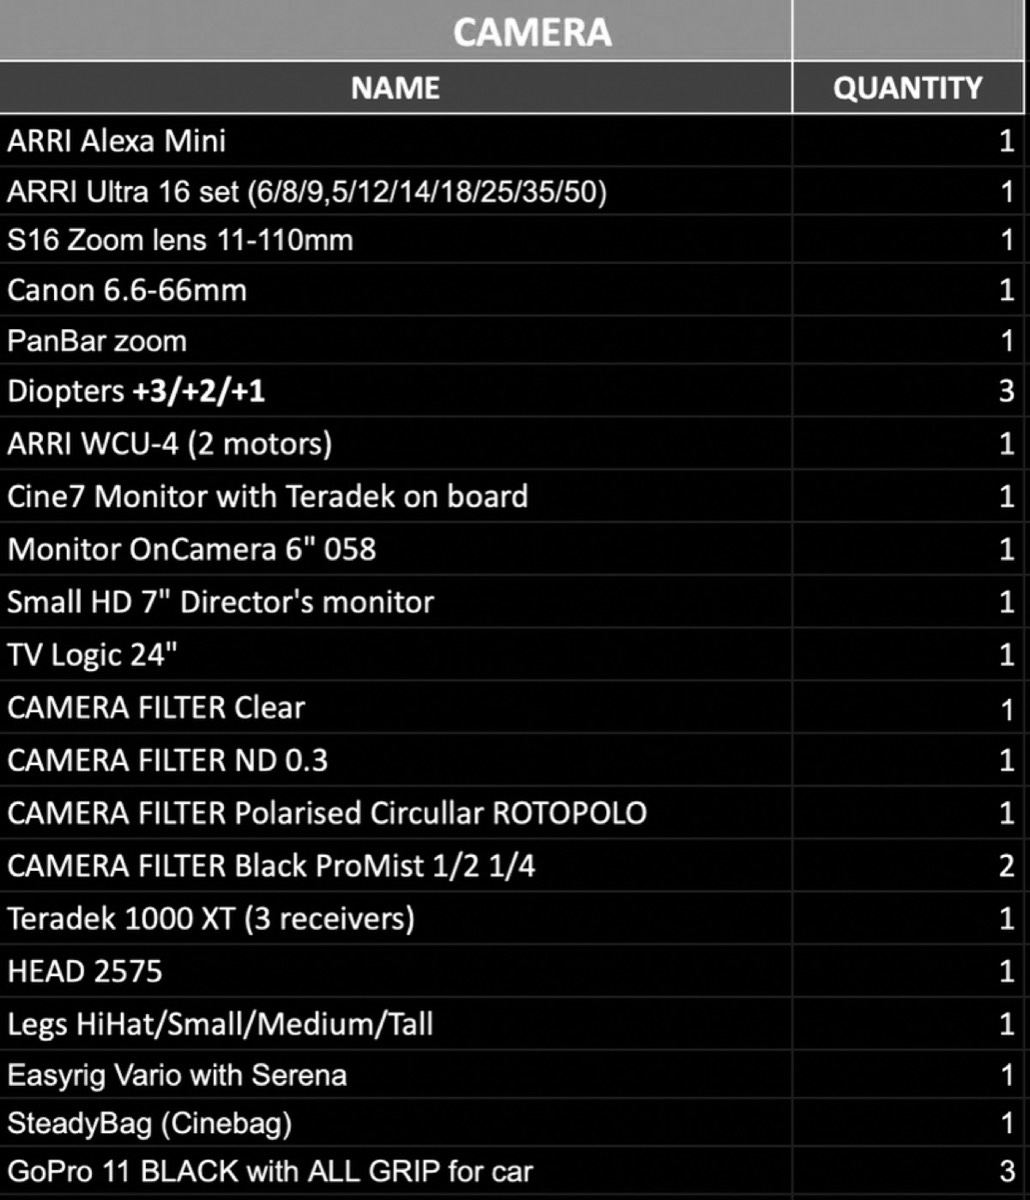
I've already discussed these lenses and their combination with the Alexa Mini in the post calls "Andrew Wyatt - light/camera breakdowns"
"Lens selection played a crucial role in achieving the desired visual style. We opted for lenses designed for 16mm film cameras to emulate the characteristics and depth of field associated with shooting on film. This choice allowed us to capture the essence of the film aesthetic within our digital workflow" These lenses are particularly well-suited for projects where a vintage yet sharp aesthetic is desired. They provide a classic cinematic look while maintaining the high standards!
ALSO! I Used to GlimmerGlass filters in front of lens for push a bit halation effect!"
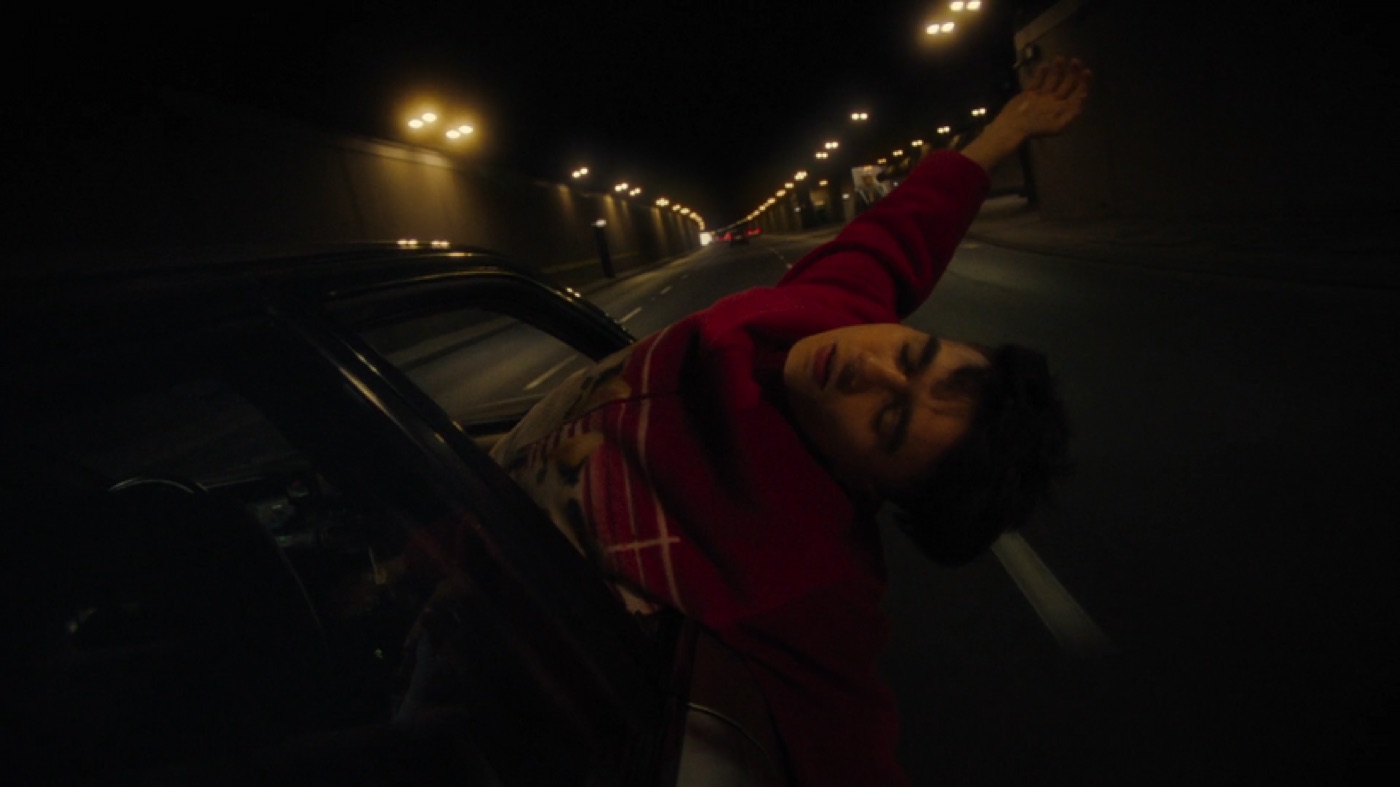
The next shot was captured from a tripod using either a 12mm or an 18mm lens (I'm sorry, I can't recall exactly)
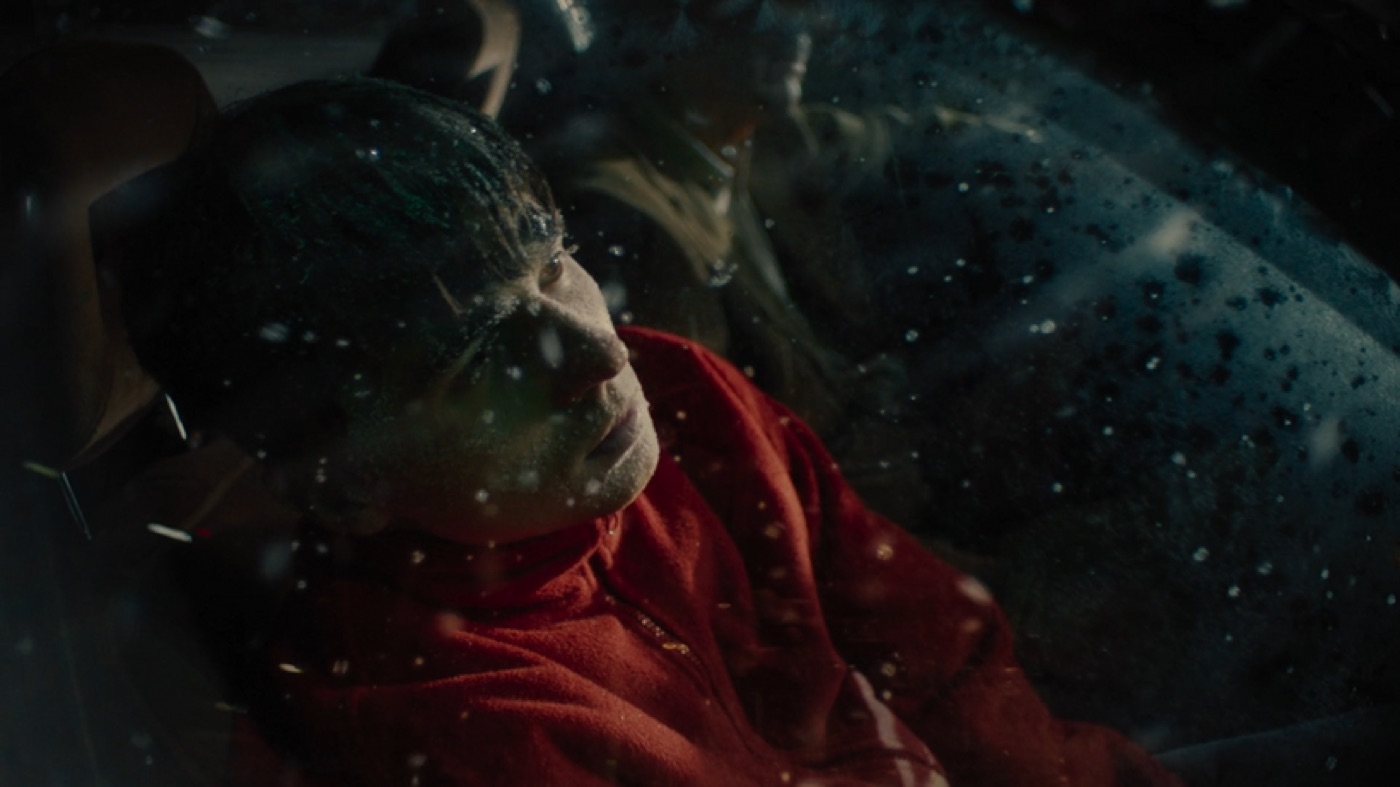
In this shot, it was crucial to convey the character's mood and the atmosphere around them (the snow). That's why the longer Super 16 lens provided the opportunity to capture this feeling more effectively.
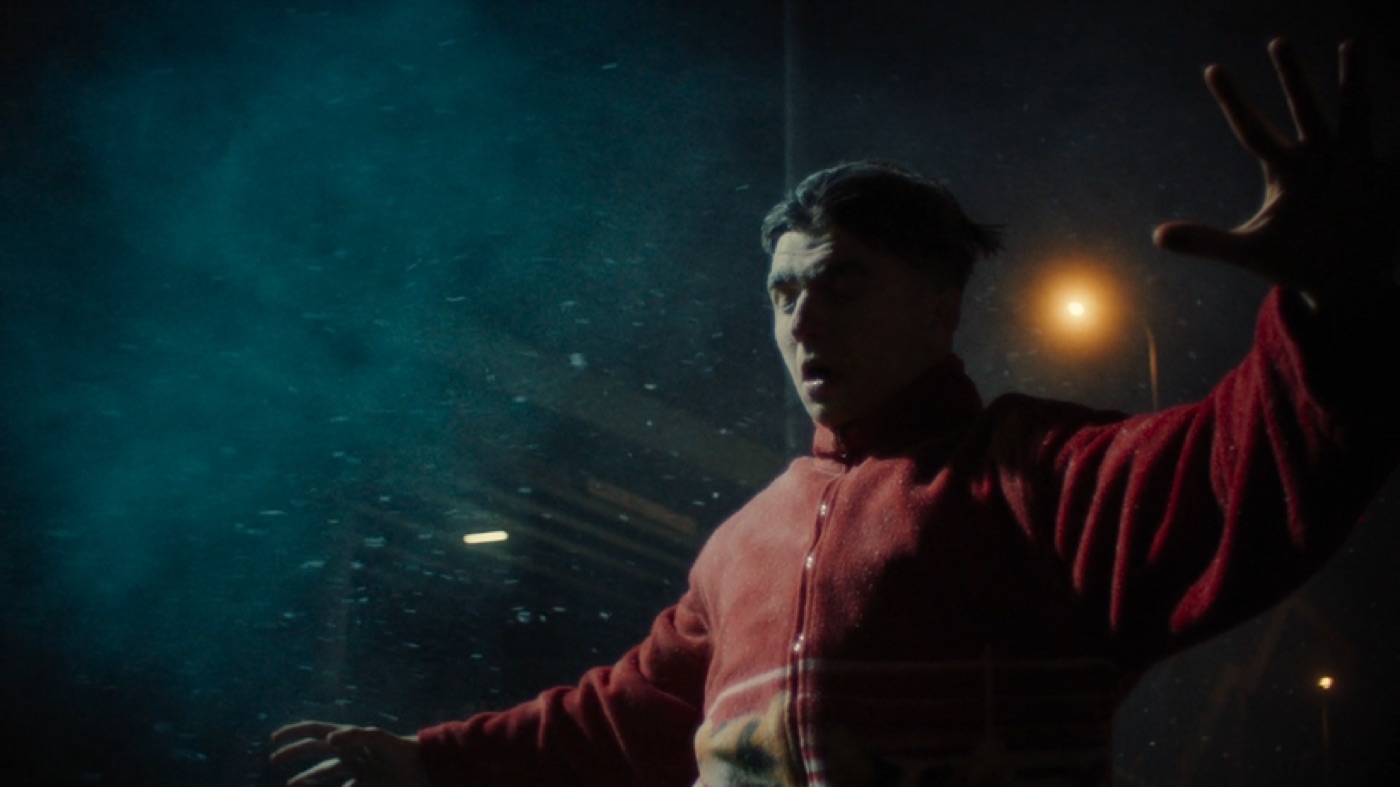
The same approach was used in the next shot as well. I aimed to isolate the character from the surroundings and draw the viewer's attention specifically to them.
Indeed, the Super 16 mode of the Alexa Mini also enables high-speed shooting up to 200 FPS!
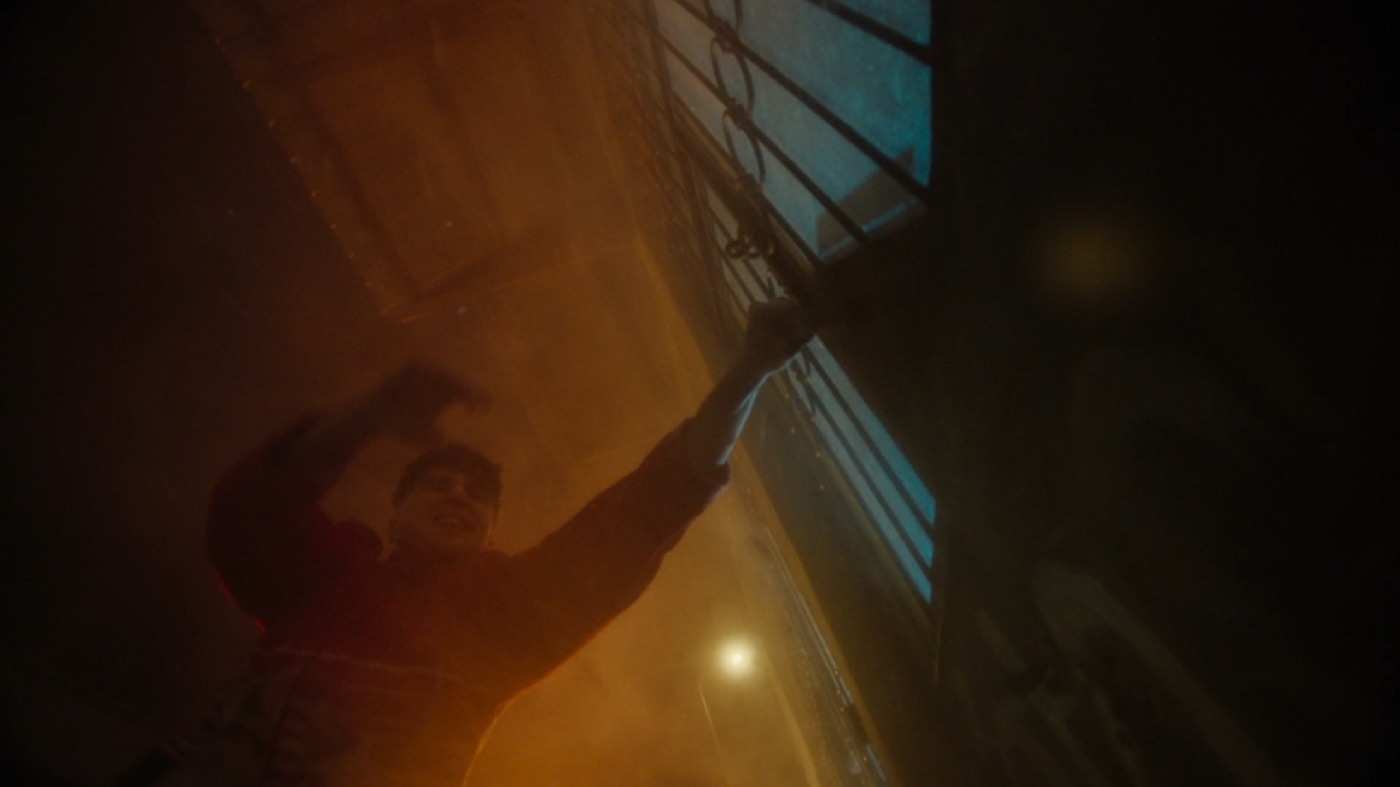
It was a tripod + 6mm
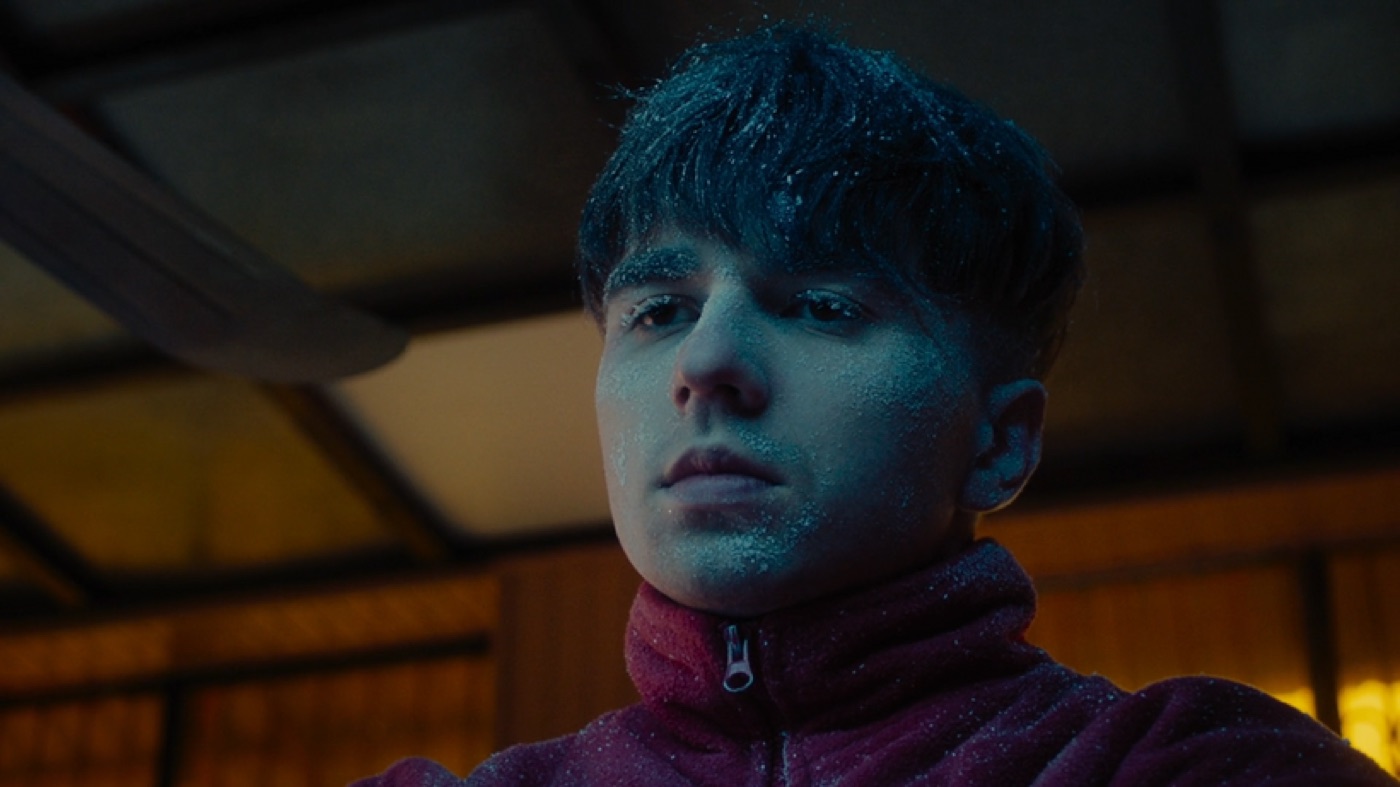
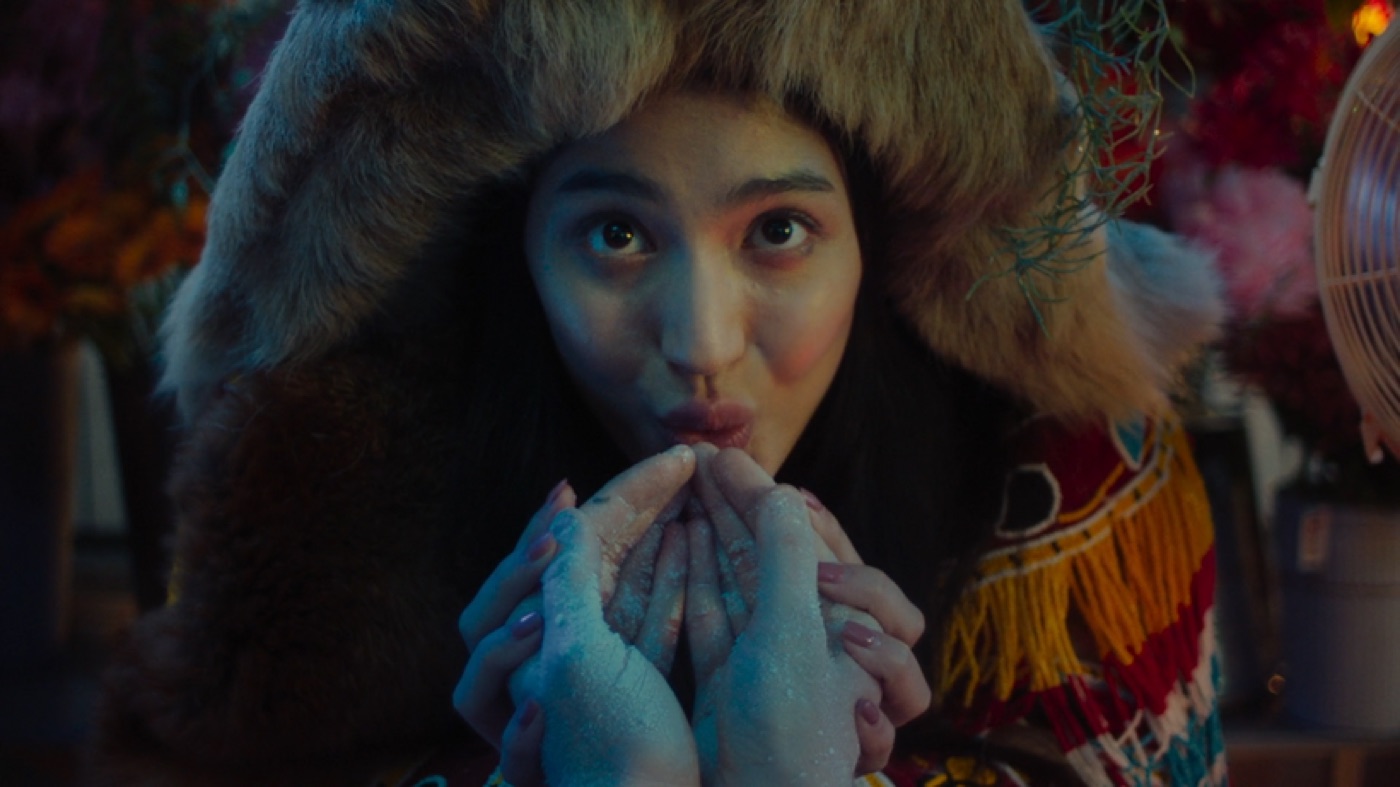
These two portraits were captured using an 18mm lens
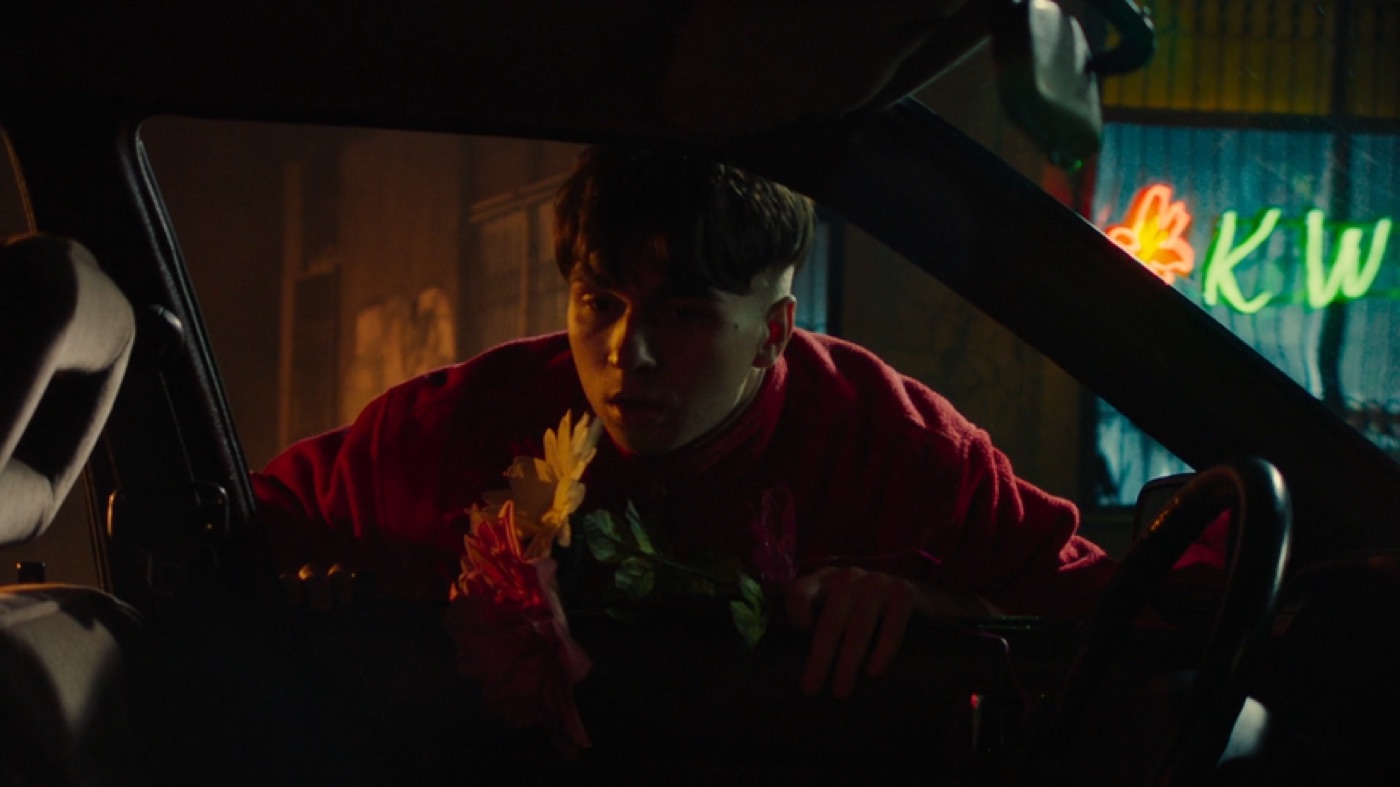
For this shot, I employed the Zeiss S16 Zoom lens 11-110mm, utilizing a pan bar zoom for smooth zooming
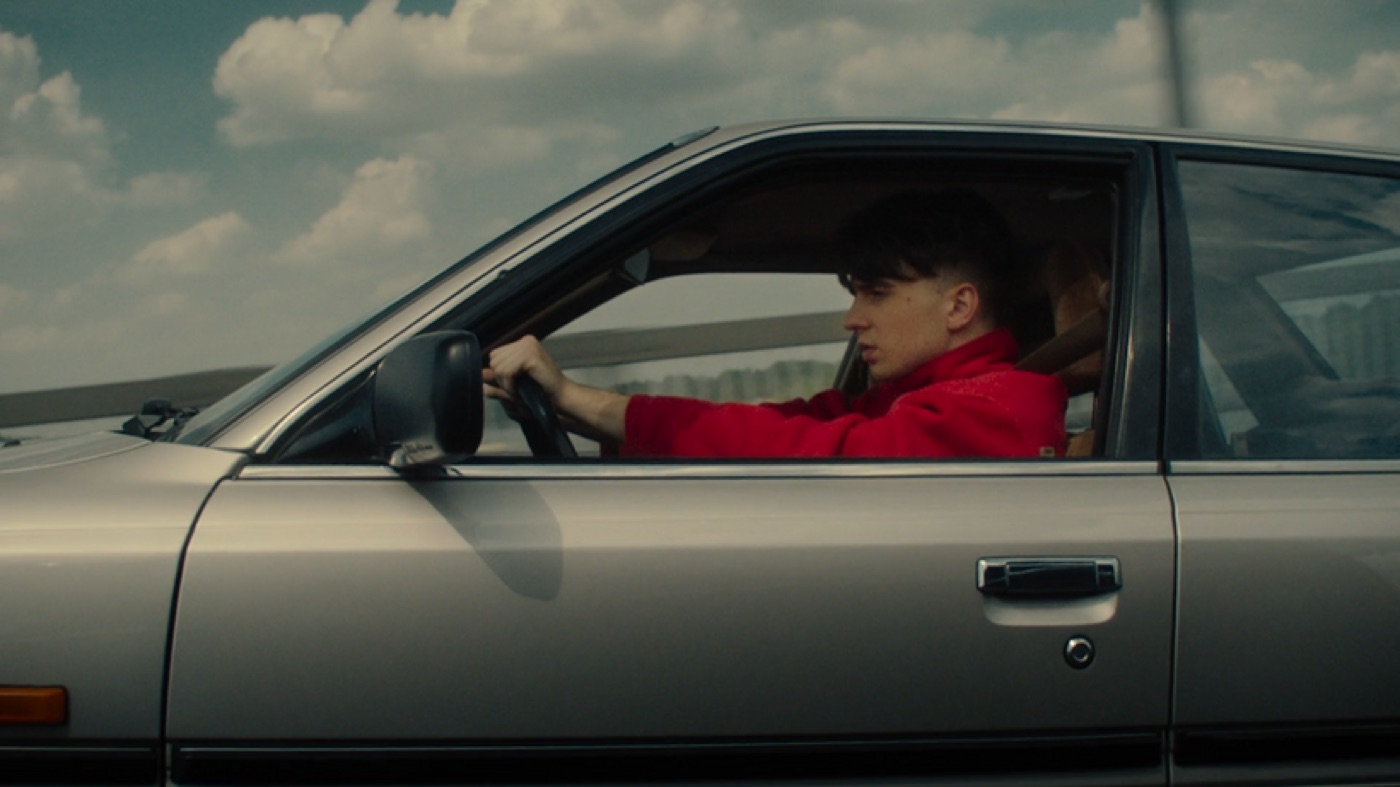
Next shot was captured from a moving bus with an open and secured side door.
While this approach limited the range of shooting angles to some extent, it provided a straightforward and impactful result! Sometimes simplicity and directness can be incredibly effective in conveying the intended message.
Absolutely, the limitations we face can often spark the most creative solutions. I remember an interview with Lawrence Sher - the cinematographer of "Joker," where he discussed how constraints have been a constant throughout his career. This insight led me to realize that tapping into creative thinking is essential to achieving the desired outcome, regardless of the project's budget. Embracing limitations can often yield groundbreaking and innovative results. It's a testament to the power of ingenuity in filmmaking
check it out!
If you have any more questions or if there's anything else you'd like to discuss, feel free to let me know. Your dedication to detail and innovation is truly inspiring me!
More like this
Get the full Breakdown Library
Dozens of breakdowns like this — lighting, camera and lens decisions from real commercial shoots, with new productions every month.
Keep watching
More breakdowns
 Free
Free
(For Free) Basketball Commercial / Camera Work
 Members
Basketball Commercial / Lights + Unreal Engine Prep
 Members
How to shoot motorcycle in a studio? / YAMAHA R1
 Members
How to shoot on big chromakey
 Members
Ten Camera Moves I Actually Use
 Free
Free